The Importance of Regular Brake Maintenance
Maintaining your bicycle brakes regularly is crucial for safe riding. Regular maintenance ensures that the brakes respond quickly and effectively when needed. Over time, brakes can wear down due to friction and exposure to the elements, making them less effective. This can put the rider at risk of accidents, especially during fast rides or in wet conditions.
To avoid this, inspect your bicycle brakes frequently. Look for signs of wear and tear and address them promptly. Regular maintenance includes cleaning the brake pads, checking their alignment, and ensuring the brake cables are in good condition. Scheduled maintenance not only prolongs the life of the brakes but also enhances the overall performance of your bicycle.
Maintaining your bicycle brakes doesn’t just keep you safe; it also saves money in the long run. By addressing small issues early, you can avoid more costly repairs later. Always remember, the safety and reliability of your bicycle largely depend on the condition of its brakes.

Types of Bicycle Brakes and How They Differ
Different types of bicycle brakes each have unique mechanisms and benefits. Here, we discuss the most common types found on bicycles.
Rim Brakes
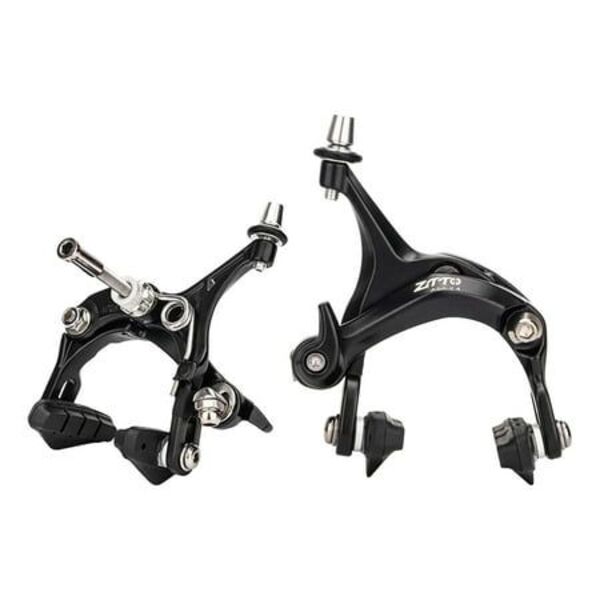
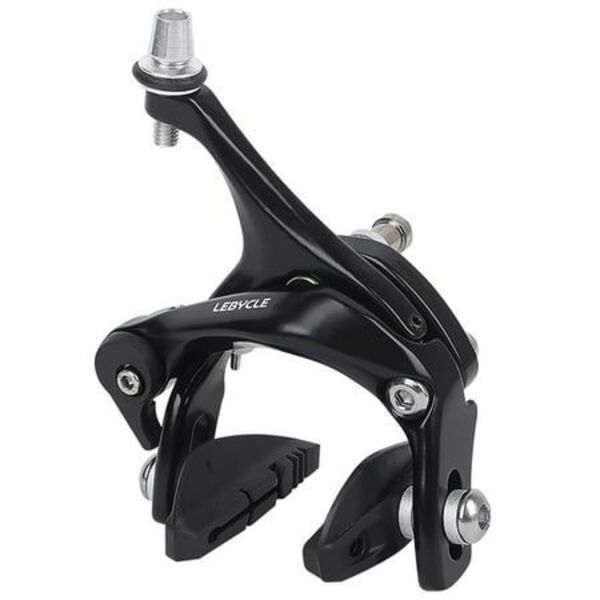
These are the most common types of brakes. They work by pressing brake pads against the rim of the wheel. They’re lightweight and easy to maintain, but can be less effective in wet conditions.
Disc Brakes
Disc brakes feature a brake disc attached to the wheel’s hub. A caliper squeezes the disc, stopping the bike. These are more effective in various weather conditions and offer better stopping power but are heavier and often more expensive to maintain.
Drum Brakes
Built into the hub of the wheel, drum brakes are protected from dirt, water, and mud, making them durable. However, they are heavier and can be complex to service. They offer consistent performance irrespective of the weather conditions.
Coaster Brakes
These brakes are activated by pedaling backward. Common in kids’ and cruiser bikes, they’re simple and don’t require much maintenance. Yet, they offer less control and power compared to other types.
Each brake type offers distinct advantages and challenges. Knowing these can aid in selecting the right bicycle brake system and maintaining it efficiently. Proper understanding and maintenance of bicycle brakes assure safer riding experiences.
Signs of Wear: When to Replace Brake Pads
Knowing when to replace your bicycle brakes’ pads is critical for maintaining optimal performance and safety. Brake pads are a key component in your braking system, and they endure the most wear due to constant friction during braking. Here are signs that indicate it’s time to replace them:
- Visibly Thin Pads: If the brake pads have less than 1/4 inch of material left, it’s time for a change. Thin pads can compromise braking power.
- Screeching Noises: A loud screech when you brake usually means the pads are worn out. It’s the sound of metal on metal, which can damage your wheel rims.
- Uneven Wear: Sometimes, pads wear unevenly. If you notice an uneven surface, replace the pads to ensure even contact with the rims or disc.
- Reduced Braking Efficiency: If you have to press harder on the brakes to stop, or if the stopping distance has increased, your pads could be to blame.
- Glazed or Contaminated Pads: Pads that appear shiny or feel hard may have become glazed and can slip. Oil or mud on pads also reduces function and requires replacement.
Regularly checking your brake pads for these signs can prevent brake failure and maintain your safety on the road. When it’s time to replace the pads, ensure you select the correct type for your brake system—whether it’s for rim, disc, drum, or coaster brakes—as compatibility is key to effective braking. For those who ride often or in harsh conditions, more frequent checks are necessary. By keeping an eye on your bicycle brakes’ condition, you can ride confidently, knowing your bike is primed for any situation.

Step-by-Step Guide to Cleaning and Adjusting Your Brakes
Maintaining your bicycle brakes through regular cleaning and adjustment is a key safety practice. Here’s a simplified guide to help keep your brakes in top shape.
- Gather Your Tools: You’ll need a clean rag, soapy water, a brush, and the appropriate wrenches for your brake type.
- Clean the Brakes: First, apply soapy water to the brake pads and rims or disc. Use the brush to gently scrub off grime and debris. Dry with the rag.
- Check the Pads: Look at the brake pads. If they show signs of wear, such as thinning or uneven wear, consider replacing them.
- Adjust the Pads: Make sure the pads are aligned to the rim or disc correctly. They should not touch the tires or miss the braking surface.
- Check the Cables: Inspect the cables for fraying or rust. Tighten them if they’re loose, but ensure they aren’t too tight to restrict movement.
- Test the Tension: Squeeze the brake levers. You should feel firm resistance. If the levers touch the handlebars, you need more tension.
- Wipe Down Everything: Once adjustments are done, clean up any excess grease or cleaner with your rag to keep your brakes in optimal condition.
Regularly following these steps can significantly improve your bicycle’s braking performance and prevent potential mishaps. Always refer to the manufacturer’s manual for specific details related to your bicycle brakes model.
Troubleshooting Common Brake Problems
Dealing with brake problems can be frustrating. But, knowing common issues helps you fix them quickly. Here are some typical problems and how to address them.
- Brakes Squeaking or Squealing: Clean the pads and rim or disc surface. Check for correct pad alignment. If the issue persists, pads may need replacing.
- Soft Brake Lever: If the lever feels soft or spongy, air might be in the hydraulic lines (for disc brakes). Bleed the system to remove air. For cable-actuated brakes, this could indicate stretched cables or worn pads.
- Poor Braking Power: Look for worn pads or a dirty braking surface. Adjust the cable tension if necessary. Make sure the brake system components are in good condition.
- Brake Lever Too Tight or Too Loose: Adjust the cable tension. Check the cables for damage or rust.
- Uneven Braking: Ensure pads contact the rim or disc evenly on both sides. Realign or replace pads as needed.
Facing these problems can be easier if you have basic repair skills. Always test your brakes after fixing any issue, before you take a ride. For complex issues, consult a professional mechanic. They use special tools and skills to solve brake problems safely and effectively.

The Role of Brake Cables and How to Maintain Them
Brake cables are crucial for a well-functioning brake system. They connect the levers to the brakes, allowing you to control stopping power. Over time, these cables can stretch, fray, or corrode, leading to a loss of braking efficiency or even failure. To maintain them:
- Inspect Regularly: Check your cables for signs of wear, such as fraying or rust.
- Clean Cables: Wipe your cables down with a damp cloth to remove dirt and grime.
- Lubricate: Use a suitable lubricant to keep the cables moving smoothly without sticking.
- Adjust for Tension: If your brake levers feel loose, you might need to tighten the cables.
- Check the Housing: The cable housing should be intact without any cracks or severe bends.
- Replace If Necessary: If cables are damaged or severely worn, replace them to ensure safety.
Maintaining your bicycle’s brake cables is not just about performance; it’s also about safety. Perform these simple maintenance tasks periodically to make sure your brakes respond when you need them most. Keep your riding experience secure and enjoyable by giving your bike’s brake cables the attention they deserve.
Enhancing Brake Performance: Upgrades and Accessories
To get the best out of your bicycle brakes, consider upgrades and accessories. Enhancing brake performance extends beyond basic maintenance. It also ensures a safer and more enjoyable ride. Here are some recommendations for elevating your braking system:
- Upgrade to High-Quality Pads: Quality brake pads offer better grip and last longer. Check for pads suited to your riding conditions.
- Install Performance Rotors for Disc Brakes: Lightweight and durable rotors improve stopping power and reduce brake fade.
- Use Braided Brake Cables: These cables are stronger and less prone to stretching, giving you more precise control.
- Consider Brake Boosters: Brake boosters increase power and stiffness in rim brake systems. This leads to more effective braking.
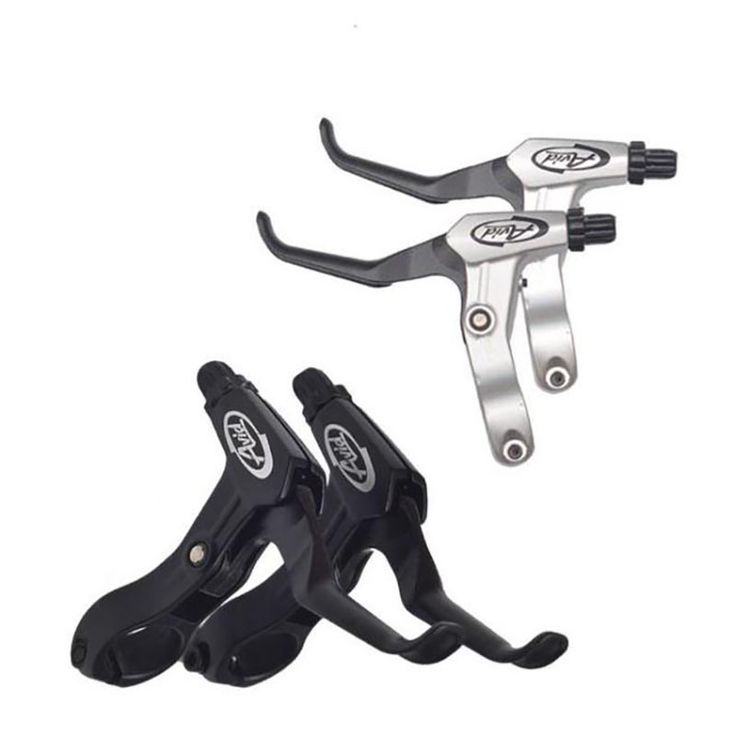
- Get Better Brake Levers: Levers with more leverage can make it easier to apply force to the brakes.
- Add Protective Accessories: Mudguards and brake protectors keep your brakes cleaner. This prolongs their life.
Each upgrade or accessory should match your specific type of bicycle brakes. Check compatibility before making any changes. Also, weigh the cost against the benefits it brings. Sometimes, even a simple upgrade can significantly improve your overall cycling experience. Ride smart by choosing the right enhancements for your bicycle’s braking system.