The art of how to make gold jewelry has captivated people for thousands of years. From ancient civilizations to modern designers, crafting with gold remains a symbol of beauty, wealth, and skill. Today, more individuals are exploring this craft as a hobby or small business. Making your own gold jewelry allows complete creative freedom. You can design rings, necklaces, earrings, and pendants exactly how you imagine them. No two pieces are ever the same.
This hands-on process blends technical knowledge with artistic vision. It requires patience, attention to detail, and the right tools. But don’t let that discourage you. With step-by-step guidance, even beginners can create stunning gold pieces. Whether you’re repurposing old family gold or starting fresh, the journey is deeply personal. Learning how to make gold jewelry gives you control over every aspect. From metal selection to final polish, each decision shapes the outcome.
 Essential Tools Required for Crafting Gold Jewelry at Home
To begin making gold jewelry, you need a basic toolkit. The first item is a jeweler’s saw frame and blades. This tool cuts precise shapes from gold sheets. Use fine blades like 2/0 or 3/0 for delicate work. Always secure the metal in a bench vise before cutting. Slow, steady strokes produce clean lines. Practice on scrap material first.
Next, invest in a set of high-quality files. Needle files come in various shapes—flat, round, half-round, and square. These smooth edges after cutting. They also help shape curves and refine details. Follow up with sandpaper. Start with 400 grit and move up to 1200 for a polished feel. Never skip filing. Rough spots can snag clothing or skin.
Heating, Melting, and Soldering Equipment
A butane micro torch is essential for soldering. It delivers focused heat without damaging surrounding areas. Pair it with a firebrick or ceramic soldering pad. These protect your workspace from flames. Use flux to prevent oxidation during heating. Apply it generously around joints.
You’ll also need solder in different forms. Hard, medium, and easy flow solders have varying melting points. Use hard solder first, then medium, then easy. This prevents earlier joints from breaking. Pickle solution cleans metal after heating. It removes fire scale safely. Always use tongs when placing items in hot pickle.
Selecting the Right Gold Material for Your Project
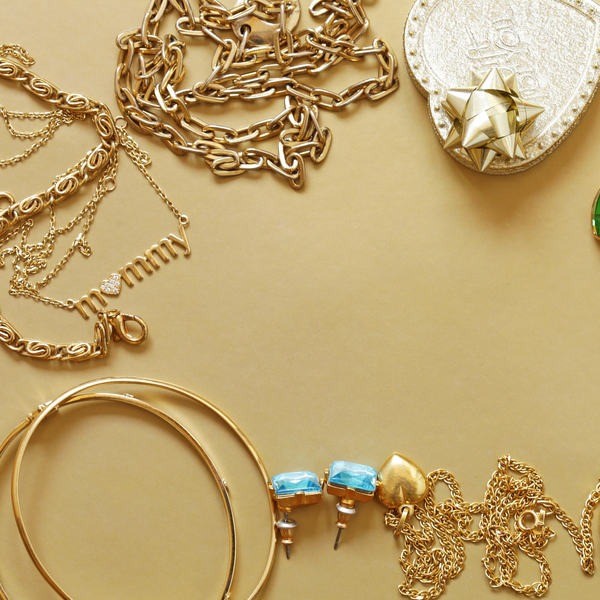
Gold comes in many forms suitable for jewelry making. Sheet gold is ideal for pendants and settings. Thickness ranges from 0.5mm to 2mm. Thicker sheets last longer under wear. Wire is perfect for rings, chains, and decorative elements. Round, half-round, and square wires offer design flexibility.
Casting grain allows custom molding. Melt it down to pour into rubber or metal molds. This creates unique components. You can even recycle old gold pieces. Simply weigh and refine them before reuse. This reduces costs and adds sentimental value.
Understanding Karat Types and Color Variations
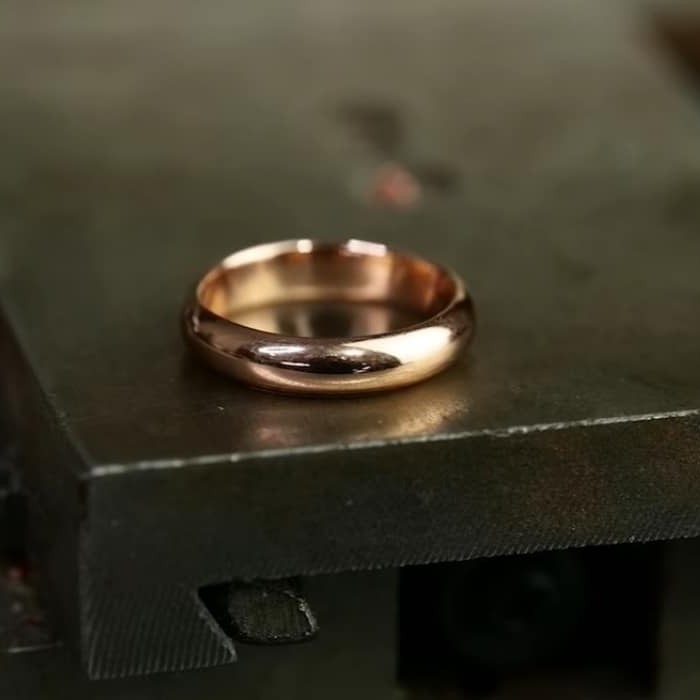
Karat indicates gold purity. 24k is pure gold but very soft. It bends easily and scratches quickly. Most handmade jewelry uses 14k or 18k gold. These mix pure gold with alloys like copper, silver, or zinc. They offer better durability while maintaining rich color.
Color choices include yellow, white, rose, and green gold. Yellow gold is traditional. White gold contains nickel or palladium. Rose gold gets its hue from extra copper. Green gold mixes with silver. Each type behaves differently during heating. Know their properties before starting. Your choice affects how to make gold jewelry successfully.
 Designing Your Gold Jewelry Piece from Concept to Sketch
Start by sketching your idea on paper. Draw multiple views—front, side, and top. Include measurements and proportions. Think about symmetry and balance. A well-planned design prevents costly mistakes later.
Use tracing paper to experiment. Try different layouts and sizes. Once satisfied, transfer the drawing onto the gold sheet. Use a scribe or fine-tip permanent marker. Mark all cut lines clearly. Cut just outside the line. You can file down to the exact edge afterward. Precision improves with practice.
Planning for Wearability and Structural Integrity
Think beyond looks. Will the piece be worn daily? Rings must withstand impact. Necklaces should drape comfortably. Earrings need secure backs. Avoid sharp edges or weak joints. Test fit mock-ups using brass or copper first.
Consider how parts connect. Jump rings, clasps, and bails must align properly. Plan stone settings early if needed. Prongs, bezels, or channels each require specific techniques. Drill pilot holes carefully. Misaligned holes ruin symmetry. Good planning ensures both beauty and strength.
Step-by-Step Process: Turning Raw Gold Into Finished Jewelry
Begin by securing the gold sheet in a vise. Use the jeweler’s saw to follow your marked lines. Keep tension on the blade at all times. Let the tool do the work. Don’t force it. Take breaks to avoid hand strain.
After cutting, file all edges. Remove burrs and sharp corners. Shape curves gently. Sand progressively from coarse to fine grits. Clean the piece in warm soapy water. Dry thoroughly before moving to assembly. Now it’s ready for joining.
Soldering Techniques for Secure Assembly
Arrange all components on the soldering block. Hold them in place with binding wire. Apply flux to all joints. Place small chips of solder near each seam. Heat evenly with the torch. Watch for the solder to flow like liquid.
Remove heat immediately once joined. Let cool naturally. Quench only if necessary. After cooling, place in pickle solution. This removes oxidation and reveals shiny metal. Inspect all connections. Reheat any failed joints. Repeat until solid. Proper soldering ensures lasting quality.
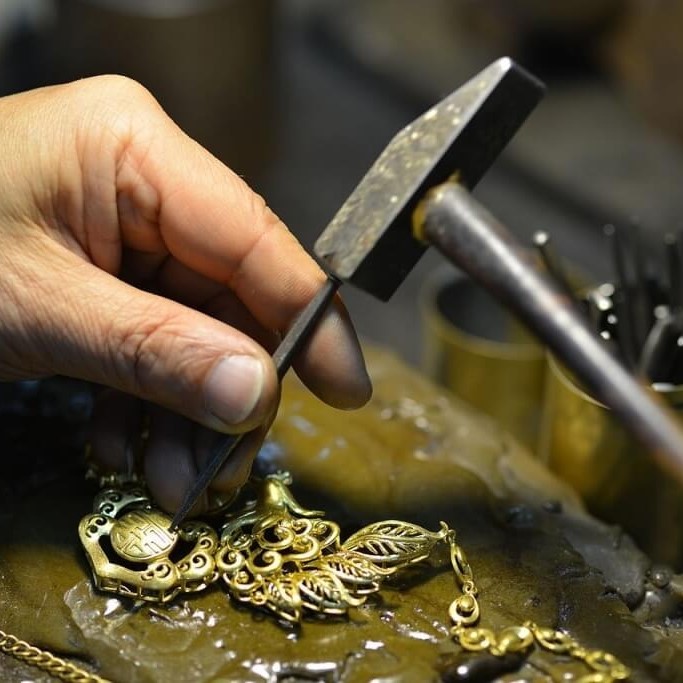
 Adding Personal Touches and Decorative Elements
Embellishments bring character to your jewelry. Use letter stamps to engrave names or dates. Align each strike carefully. Tap with a rawhide or steel hammer. Practice on scrap metal first.
Textured hammers add visual interest. Ball-peen, cross-peen, and chasing hammers create patterns. Hammer surfaces lightly for subtle effects. Heavy strikes may thin the metal too much. Engraving tools carve fine lines and swirls. These personalize your work beautifully.
Setting Stones and Final Assembly
If adding gemstones, choose the right setting style. Prong settings hold stones with metal claws. Bezel settings wrap a rim around the stone. Channel settings line stones in a row. Each method requires precision.
Seat the stone securely. Check for gaps or looseness. Gently push prongs over the edges. File and polish afterward. Ensure no sharp points remain. A well-set stone stays safe during wear.
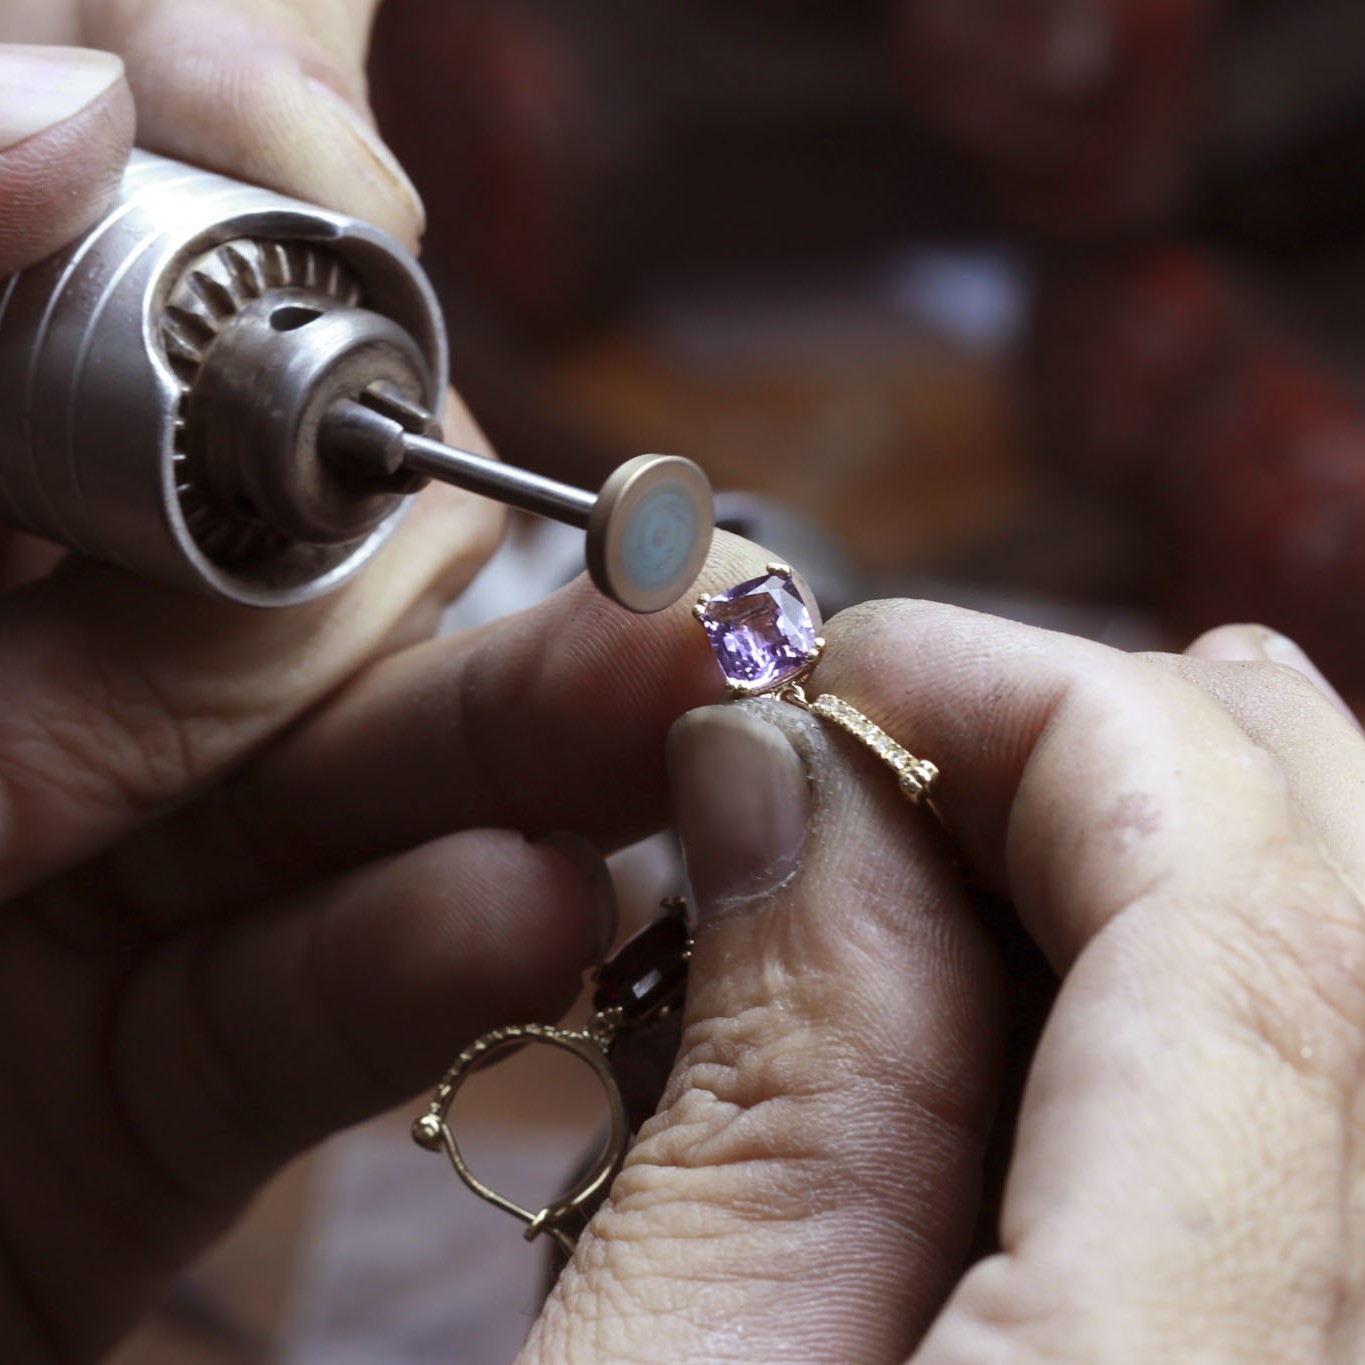
Polishing and Finishing for a Professional Look
Polishing transforms your piece. Begin with tripoli compound on a motorized buffing wheel. This removes light scratches. Apply gentle pressure. Move the piece evenly across the wheel. Avoid lingering in one spot.
Switch to rouge compound for high shine. This produces a mirror-like finish. Work slowly to prevent overheating. For matte finishes, use sandblasting or brushing. Tumbling with steel shot polishes multiple pieces at once. It also hardens the metal slightly. A flawless surface completes your creation.
 Frequently Asked Questions About How to Make Gold Jewelry (F&Q)
Can I start making gold jewelry without formal training?
Yes, absolutely. Many artisans are self-taught. Online tutorials, books, and videos provide clear instructions. Start with simple projects like bands or pendants. Build skills gradually. Mistakes are part of learning.
Practice on cheaper metals first. Brass, copper, or silver mimic gold’s behavior. Once confident, move to real gold. Patience and persistence lead to mastery.
Is it expensive to begin making gold jewelry?
Initial costs vary. Basic tools can be affordable. Entry-level kits include saws, files, torches, and pliers. Second-hand tools work well too. Expect to spend 100 300 to start.
Gold itself is costly. Use small amounts at first. Recycle old jewelry to save money. Buy casting grain in small quantities. Budget wisely. Passion outweighs price.
Do I need special ventilation when working with gold?
Yes, safety matters. Always work in a ventilated area. Fumes from flux and pickle can irritate lungs. Use a fume extractor or open windows. Wear a mask when sanding or polishing.
Never inhale dust or vapors. Store chemicals out of reach. Keep a fire extinguisher nearby. Protect yourself and others. Safe practices ensure long-term enjoyment.
Can I sell the gold jewelry I make?
Yes, many do. Register as a sole proprietor if selling locally. Label karat content honestly. Include your maker’s mark. Customers value authenticity.
Check local laws on hallmarking. Some countries require official stamps. Build trust through quality and transparency. Selling handmade gold jewelry can become a rewarding business.
What is the best way to learn advanced techniques?
Take workshops or online courses. Many jewelers offer beginner classes. Focus on soldering, stone setting, or wax carving. Hands-on learning builds confidence.
Join crafting communities. Share tips and ask questions. Follow professional goldsmiths on social media. Study their methods. Continuous learning leads to growth.
How do I store finished gold jewelry?
Keep pieces in soft pouches or lined boxes. Avoid tossing them together. Scratches occur easily. Use anti-tarnish strips if storing long-term.
Clean occasionally with mild soap and water. Dry with a lint-free cloth. Store away from sunlight and moisture. Proper care preserves beauty.
 Conclusion
Learning how to make gold jewelry is a journey of discovery and expression. It combines tradition, technique, and imagination. Every ring, pendant, or earring tells a story. You control the design, materials, and finishing touches. Whether for personal keepsakes or future sales, the possibilities are endless.
With dedication and the right tools, anyone can master this craft. Start small. Learn step by step. Celebrate each completed piece. Over time, your skills will grow. The answer to how to make gold jewelry lies not just in tools—but in your hands, your vision, and your passion. So pick up your saw, light your torch, and begin creating today.