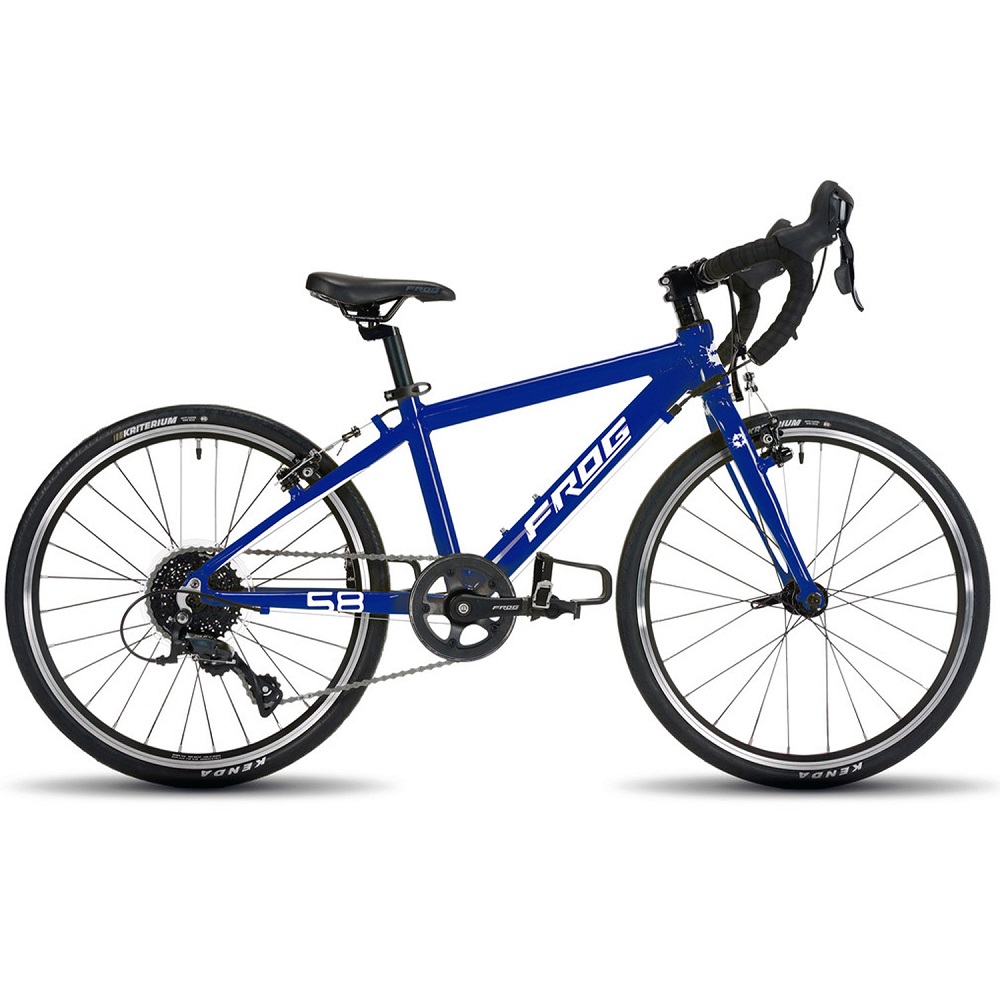
When it comes to getting children involved in cycling, having the right bike is essential. Kids road bikes are designed specifically for younger riders, combining lightweight frames with child-friendly geometry. However, finding the perfect fit is crucial to ensure comfort and safety while riding. This article will explore how to fit and adjust kids road bikes for optimal comfort. We will cover measuring, saddle height, handlebar adjustments, and more to help your child enjoy their cycling experience.
Understanding the Importance of Proper Fit
Why Fit Matters
Proper fit is one of the most critical factors in cycling comfort and performance. If a bike does not fit correctly, it can lead to discomfort, fatigue, and even injury. Properly fitted bikes allow children to maintain a natural riding posture, enabling them to enjoy longer rides without pain or fatigue.
A well-fitted bike instills confidence in young riders. When kids feel comfortable on their bikes, they are more likely to enjoy cycling and develop a love for the sport. Additionally, proper bike fit helps prevent the need for frequent adjustments and enhances the overall riding experience.
Busier Roads and Added Considerations
As kids grow more skilled in cycling, they might venture onto busier roads or join group rides. In such cases, a proper fit becomes even more critical for safety. Children need to have optimal control of their bikes to navigate through traffic or keep up with peers. A poorly fitting bike can make it difficult for kids to handle their bicycles effectively, increasing the risk of accidents.
Choosing the right bike size not only aids comfort but also promotes safer riding habits. Educating parents about the importance of fit will ensure that they take the necessary measurements, making bike journeys enjoyable and safe for their children.
Measuring for the Right Bike Size
How to Measure
Before purchasing kids road bikes, it is essential to measure your child properly. The most common measurement needed is inseam length. To measure inseam, have the child stand straight with their feet about six inches apart. Use a measuring tape to measure from the ground to the top of the crotch, ensuring the tape runs along the leg.
Additionally, knowing the child’s height can help determine appropriate bike size. Most bike manufacturers provide sizing charts based on height and inseam measurements. Use these charts consistently to gauge which size is appropriate before making a purchase.
Choosing the Right Size
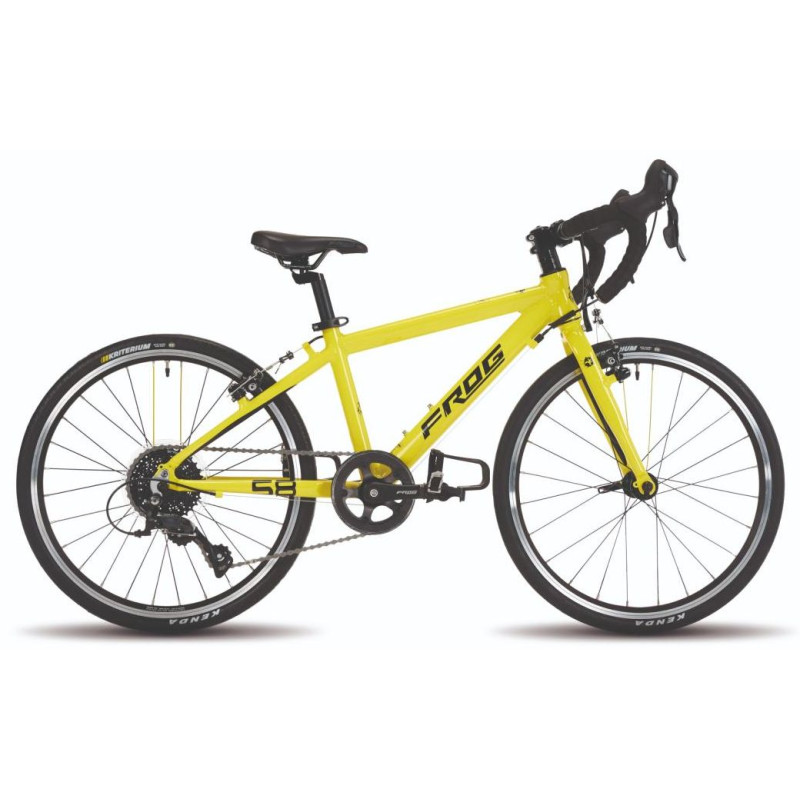
When selecting a bike based on measurements, keep in mind that kids road bikes or racing bikes typically come in several frame sizes. Ensure the chosen bike lays within the recommended ranges for both height and inseam. Cycling stores often have a range of frames to test to ensure a suitable fit for your child.
If the bike is too large, the child may struggle to control it. If it’s too small, the child may quickly outgrow it. Having the correct size bike will allow for safe and enjoyable riding as they practice and improve their skills.
Adjusting the Saddle Height
Importance of Saddle Height
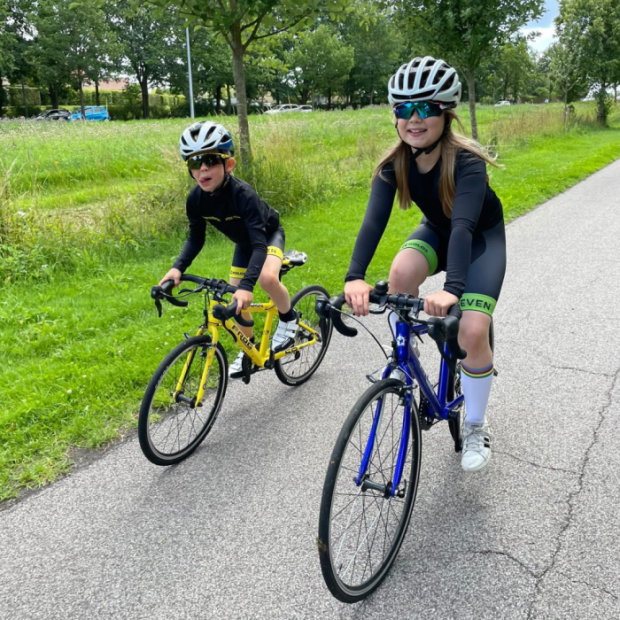
Saddle height is one of the most critical adjustments that can be made on kids road bikes. Proper saddle height allows for efficient pedaling and comfort. If the saddle is set too high, the child may experience strain on their hips and knees. Conversely, if it is set too low, it can lead to leg cramps and discomfort during rides.
An optimal saddle height allows for a slight bend in the knee when the child’s foot is at the lowest point of the pedal stroke. This positioning provides effective pedal stroke without overextending or straining the joints.
How to Adjust Height
To find the right saddle height, begin with the child seated on the bike. With their pedal positioned at the lowest point, have them place their heel on the pedal. If their leg is fully extended without straining, the saddle height is about right. If the knee bends too much or feels risky, adjust the saddle accordingly.
To make adjustments, loosen the saddle clamp on the seat post. Raise or lower the saddle to the appropriate height, then secure the clamp tightly to avoid any movement while riding. It is best to double-check stability and security before your child rides off.
Setting Up the Handlebars
Handlebar Height
The handlebars play an essential role in comfort during rides. If the handlebars are set too low, children may find it challenging to maintain control, especially over longer distances. Conversely, handlebars that are too high can lead to a less aerodynamic position, causing stress on the back.
For optimal handling and comfort, the handlebars should generally be at the same height as the saddle or slightly higher. This positioning allows for a comfortable grip while ensuring an ergonomic posture.
Handlebar Adjustment
To adjust handlebar height, locate the adjustment screws or clamp on the stem. Follow the manufacturer’s guidelines for proper adjustment methods. After adjusting, ensure the handlebars are securely tightened and stable.
Once the adjustments are complete, have your child sit on the bike. Their arms should bend slightly at the elbows while gripping the handlebars. This position helps maintain control and comfort during riding.
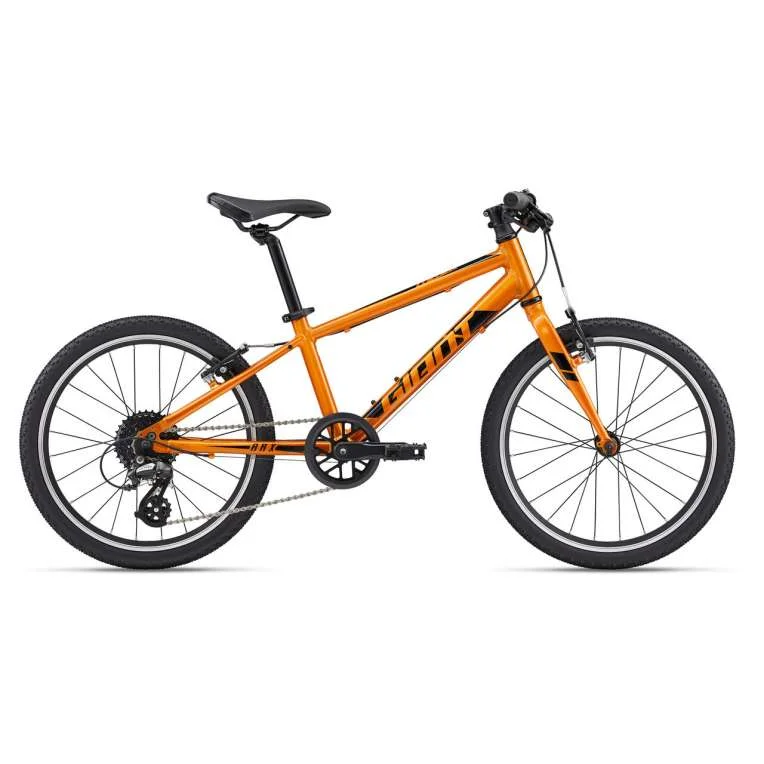
Ensuring Proper Control with Grips and Brake Levers
Selecting the Right Grips
Another important aspect of fitting a kids road bikes is the choice of grips. Ensure that the grips are appropriate for your child’s hand size. Smaller grips make it easier for kids to control the bike effectively. Grips should also feel comfortable in their hands, allowing for a secure grip while riding.
Some grips have ergonomic designs that help reduce fatigue during long rides. If the grips on the bike are too thick or uncomfortable, consider replacing them with narrower or padded alternatives.
Adjusting Brake Levers
Positioning the brake levers is equally important. Kids should be able to reach and activate the brakes without overstretching. Adjust the brake levers so that they are within the reach of the child’s fingers while maintaining a natural hand position.
When testing the brake levers, have the child sit on the bike and reach for the brakes. The levers should easily activate without requiring awkward hand positions. Properly adjusted brake levers enhance safety and control while riding.
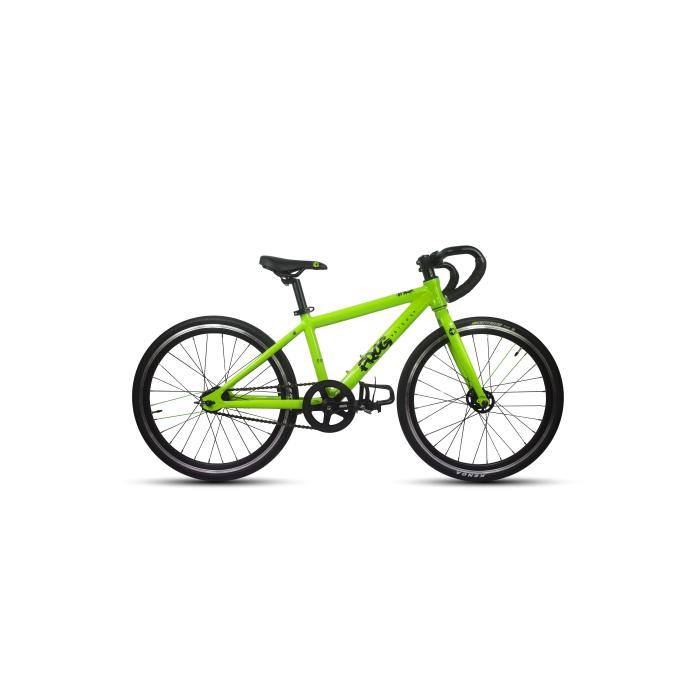
Test Riding and Final Adjustments
The Importance of Test Riding
After making all the necessary adjustments, it’s time to put the bike through a test ride. This step is critical to ensure everything is perfect and suitable for your child. The test ride will help identify any remaining issues that may need tweaking.
Encourage your child to ride the bike in a safe area, preferably away from traffic. Observe how they handle the bike. Look for signs of discomfort or difficulty in controlling the bike. If they seem uncomfortable, take note of the specific areas that require further adjustment.
Final Touches
After the test ride, be prepared to make any last adjustments. This may include fine-tuning the saddle height or handlebar placement. Make sure to confirm that all screws and clamps are securely tightened before the child rides again.
It’s also a good time to check additional gear such as helmets and other protective equipment. Ensure their helmet fits snugly and securely, as safety should always be a priority when riding.
Encouraging Safe Riding Habits
Teaching Road Safety Fundamentals
Once the bike is fitted and adjusted correctly, it is time to discuss safety with your child. Teach them the basic rules of cycling, such as signaling turns and being aware of their surroundings. Emphasizing the importance of looking both ways before crossing streets can prevent accidents and ensure a safe riding experience.
Encourage your child to always wear a properly fitted helmet. This crucial piece of safety equipment can significantly reduce the risk of injury in case of falls or collisions. Discuss how to maintain focus while riding, as distractions can lead to accidents.
Promoting Regular Riding
Encourage your child to ride regularly in safe environments to build confidence and skills. Consider organized group rides or cycling clubs for young riders. These social activities help children learn road safety while encouraging a love for cycling and outdoor activities.
The more experience children gain through regular riding, the more comfortable and confident they will become. This increased knowledge and skill set can enhance their overall enjoyment of cycling. Riding together as a family can foster a sense of community and promote an active lifestyle.
Conclusion: Enjoying the Ride
In conclusion, selecting and adjusting kids road bikes is essential for ensuring a comfortable and enjoyable riding experience. By taking the time to measure, fit, and adapt the bike to their specific needs, you can help your child develop confidence and safety on two wheels.
From measuring inseam to adjusting the saddle and handlebar height, every detail plays a crucial role in creating the perfect fit. As they grow and develop their skills, encourage safe riding habits and regular practice. With the right bike and adjustments, children can learn to love cycling, enjoying both the activity and the freedom it brings. Happy cycling!
