Introduction to Bicycle Wall Mounts
Bicycle wall mounts are innovative solutions for storing bikes effectively in limited space. They attach to the wall, allowing bicycles to hang vertically or horizontally. This storage method not only frees up floor space but also helps avoid clutter. Additionally, it protects bikes from potential damage when lying on the ground in tight areas.
Bicycle wall mount come in various designs to accommodate different types and sizes of bikes. For example, the ‘CLUG’ model, which won an award at Eurobike, is celebrated for its minimalistic design and easy installation, utilizing mere screws and wall plugs. It caters to road, touring, hybrid, and mountain bikes by offering different sizes according to tire width.
Choosing the right bicycle wall mount involves assessing the space available, the type of bike you have, and how often you use it. The method of mounting—vertically or horizontally—will depend on your specific storage needs and the physical layout of your location. Safety and stability are priorities, ensuring the mount supports the bike’s weight without risk of falling.
Bicycle wall mounts are practical, efficient, and enhance the aesthetic of any storage space. They represent a simple yet effective solution for bike enthusiasts looking for a smart way to store their bikes indoors.

Key Types of Bicycle Wall Mounts
In choosing a bicycle wall mount, it is important to understand the different types available and their benefits. Here are the key types of bicycle wall mounts you can choose from:
CLUG Models
CLUG offers a variety of wall mounts tailored to fit various bike types. Their models include:
- Roadie: Designed for road, touring, and race bikes, it fits tires from 23mm to 32mm.
- Hybrid: Suited for hybrid, commuter, and gravel bikes, fitting tires from 33mm to 42mm.
- MTB: Built for mountain bikes with tire sizes between 46mm to 64mm.
CLUG mounts easily with screws and wall plugs, and can be fixed on a brick wall or stud.
Horizontal and Vertical Mounts
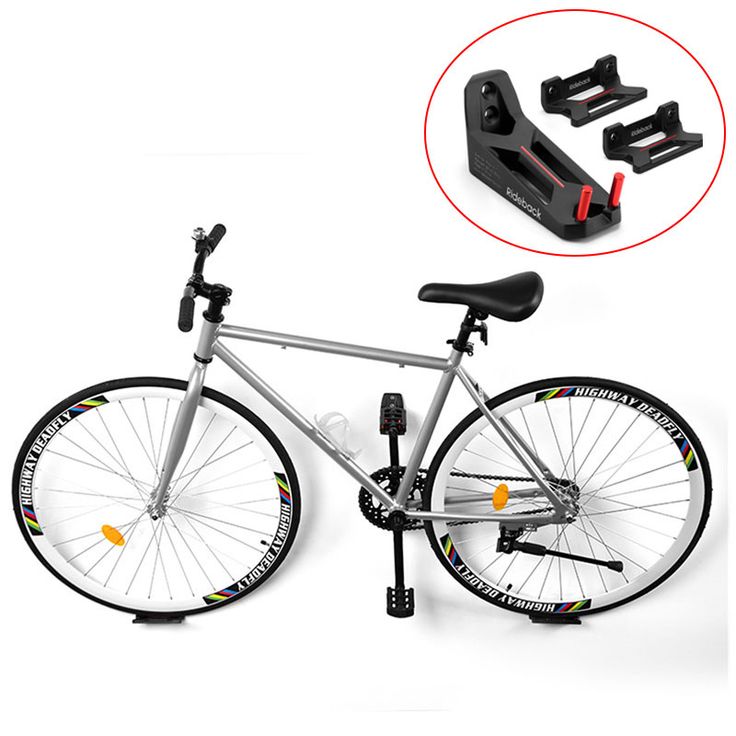
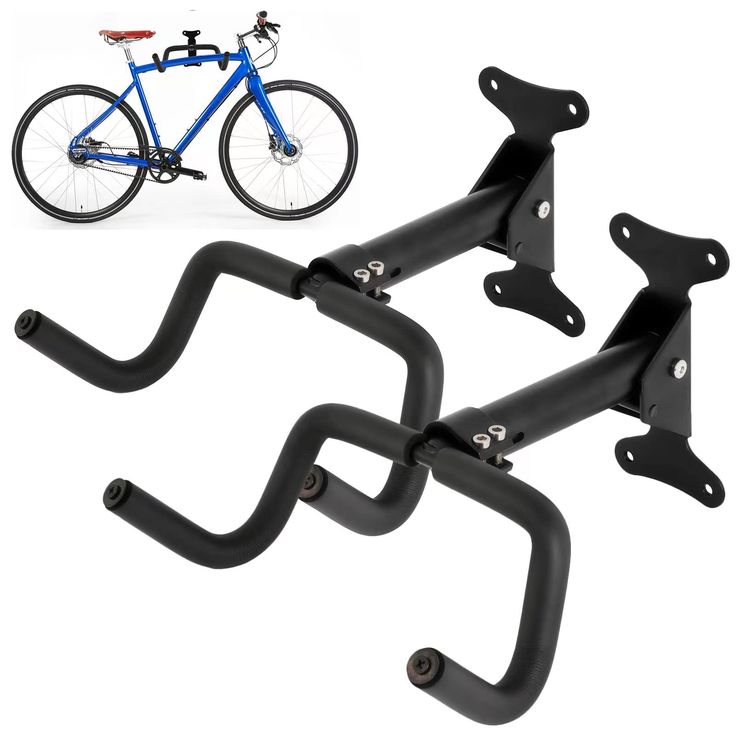
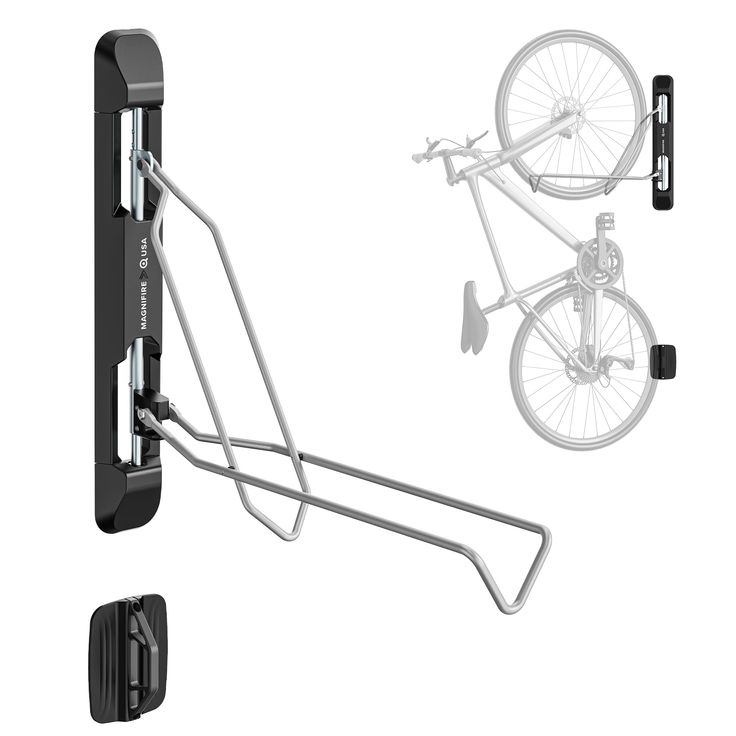
Bicycle wall mounts often allow storage either horizontally or vertically, maximizing space and catering to personal preferences. Vertical mounts save on floor space and are ideal for tight areas, whereas horizontal mounts can showcase your bike and may be easier to mount for some users.
Shelf and Hook Mounts
Another popular type includes shelf mounts that add storage for bike accessories and hook mounts that support the bike by a wheel or the frame. These are great for those who want added functionality or have limited wall space.
Pivoting Wall Mounts
For those who need more flexibility, pivoting wall mounts allow the bike to swing closer to or further away from the wall. This is beneficial when space is used for multiple purposes.
By understanding these key types and the design best suited for your bike and space, you can make an informed decision that ensures both safety and convenience.
Determining the Perfect Fit for Your Bike
Finding the right bicycle wall mount size is crucial. Measure your bike’s tire width accurately. The tire width determines which CLUG size fits best. For road bikes, CLUG sizes range from 23mm to 32mm. Hybrid bikes require a CLUG that fits tires from 33mm to 42mm. For mountain bikes, you need a mount for tire sizes between 46mm and 64mm. Always measure the actual tire size, not the manufacturer’s stated size. Manufacturers can overstate tire sizes, so a tire stated as 2.4” might measure only 2.2”. In this case, choose a snugger size to ensure stability and safety. Use calipers for the most precise tire width measurement. This prevents choosing a wall mount that’s too large or too small. An inaccurate fit can lead to bike instabilities and increase the risk of damage. If you’re unsure, consult with sales experts or use online guides from reputable retail websites. Taking these steps will help you find the best fitting and most reliable bicycle wall mount for your specific needs.

Mounting Your Bike Vertically vs Horizontally
When you bring a bicycle wall mount into your home, deciding whether to mount your bike vertically or horizontally is key. This choice can affect how much space you save and how you access your bike.
Vertical Mounting Advantages
Mounting your bike vertically is a real space saver. It works best in narrow spaces and corridors. With vertical storage, you simply lift your bike and hook it by the front wheel. This method keeps floors clear and makes it easy to vacuum or sweep underneath.
Horizontal Mounting Benefits
Horizontal bike mounts showcase your bike and are often more accessible. They work well in areas where you display your bike as art or conversation pieces. Stability can be better with horizontal mounts since the bike rests on two points of contact.
Choosing the Right Mount
Choosing between vertical and horizontal mounts depends on your space, your bike’s tire size and how you use your bike. Remember to check the weight limits too. A good bicycle wall mount should handle your bike’s weight whether mounted vertically or horizontally.
Tips for Vertical Mounting
Make sure the mount is high enough so the bike does not touch the ground. Consider using a stud finder to locate a sturdy area of the wall for secure installation. It’s also important to align the front wheel directly below the mount to avoid slippage and ensure the bike hangs straight.
Tips for Horizontal Mounting
Check that there is enough room to accommodate the full length of the bike. You’ll need to ensure both the front and back tires have solid mounts to rest on. Level the mount accurately so the bike doesn’t lean and risk falling off.
Mounting your bike on the wall can declutter your space and keep your bike safe from damage. Whether you prefer vertical or horizontal mounting, ensure you have the right size and type of bicycle wall mount, and install it correctly for a secure and accessible bike storage solution.
Installation Tips for Bicycle Wall Mounts
Getting your bicycle wall mount set up correctly is vital for the safety of your bike and efficiency in your space. Here are some installation tips:
- Study the instructions: Before you start, read the provided instructions carefully. This will save you time and prevent mistakes.
- Choose the right tools: You will usually need a drill, screws, and wall plugs which are often included with the mount. Check that you have the right drill bit size.
- Locate studs or solid walls: Use a stud finder to locate studs if mounting on drywall. For brick walls, ensure the wall can handle the weight.
- Ensure correct height: For vertical mounts, the bike should not touch the ground. Adjust the mount height accordingly.
- Level the mount: Use a level to make sure the mount is straight. This is crucial for the stability of your bike.
- Secure the mount: Screw the mount in firmly but don’t overtighten, as this can damage the wall or the mount.
- Test before use: Hang your bike to ensure everything is secure. Adjust if necessary before using the mount regularly.
By following these steps, you’ll create a safe and uncluttered space while displaying your bike effectively with your new bicycle wall mount.

Common Mistakes to Avoid When Using Wall Mounts
Installing and using bicycle wall mounts seems straightforward, but common mistakes can lead to damage to your bike or your wall. Here are some errors to steer clear of:
- Ignoring weight limits: Every wall mount has a weight capacity. Exceed the limit, and you risk the bike falling, which can harm the bike or the wall. Always double-check the weight specifications of your bicycle wall mount and compare these to your bike’s weight.
- Poor placement: Don’t rush the placement of your wall mount. Positioning it too high could make your bike hard to reach, while too low may cause your bike to touch the ground, compromising the space-saving benefits.
- Forgetting to measure: Accurate measurements ensure your bicycle fits the mount. This means measuring tire width and the space where you want to install the mount. Miscalculations lead to wobbly fits or an inability to use the mount at all.
- Skimping on tools: Utilize the correct tools. The right drill and bit size are crucial. Using substitutes can cause improper installation that jeopardizes the mount’s hold and your bike’s safety.
- Overlooking wall integrity: A solid wall is key. A wall mount is only as secure as the wall to which it’s affixed. Check for studs or ensure the wall can bear the weight; otherwise, the wall could crumble under stress.
- Neglecting levelness: An unleveled mount may result in your bike slanting or falling off. Use a spirit level during installation to maintain the bike’s balance.
Avoiding these mistakes will keep your bike safe and your walls intact. Always perform a stability check after installation to guarantee that the mount is securely in place and capable of holding your bike.
Maintenance and Care for Your Bicycle Wall Mount
To ensure your bicycle wall mount remains in optimal condition, regular maintenance and care are essential. Here are some straightforward tips to help you maintain your mount effectively:
- Clean Regularly: Dust and dirt can accumulate on your mount, especially if located in a garage or outdoor area. Wipe it down with a damp cloth every few weeks to keep it clean.
- Check for Rust: If your mount is metal and exposed to moisture, it could develop rust. Inspect it monthly, and if you spot rust, treat it with a rust remover or protective paint.
- Tighten Screws and Bolts: Movement from hanging and removing your bike can loosen fittings. Every couple of months, check and tighten screws and bolts to ensure the mount is secure.
- Inspect for Wear and Damage: Regularly inspect your mount for any signs of wear or damage. If any part looks unsafe, replace it immediately to avoid accidents.
- Lubricate Moving Parts: If your mount has any pivoting parts or adjustable components, a bit of lubrication can keep them moving smoothly. Use a suitable lubricant based on the manufacturer’s recommendation.
By following these maintenance steps, you’ll extend the life of your bicycle wall mount and keep your bike securely stored.