I. Preparing Your Bike for Painting

A. Cleaning and Degreasing
How to paint a bicycle? Before you begin the process of painting your bike, the first step is to thoroughly clean and degrease the surface. Over time, a bike accumulates dirt, grime, and grease from regular use, and it’s crucial to remove these contaminants to ensure a smooth and durable finish.
Start by using a degreaser specifically designed for bicycles and a bristle brush to remove any built-up grease, oil, and grime. Pay close attention to areas around the chain, gears, and brakes, as these tend to have the most significant build-up. Ensure that the entire bike frame, fork, and other parts are scrubbed and free from any dirt or old paint.
Once the degreasing is complete, rinse the bike thoroughly with clean water to remove any remaining traces of degreaser and dirt. Allow the bike to dry completely before proceeding to the next step.
B. Sanding and Surface Preparation
After the bike is completely dry, the next step is to sand the surface to create an ideal texture for the new paint to adhere to. This process helps to remove any remaining traces of old paint, clear coat, and imperfections on the surface, ensuring a smooth and even finish.
Using fine-grit sandpaper, gently sand the entire bike frame, fork, and other parts that will be painted. This will create a slightly roughened surface, allowing the new paint to grip onto the metal more effectively. It’s essential to sand gently and evenly, paying careful attention to not over-sand any particular area to avoid creating an uneven surface.
Once the sanding is complete, use a tack cloth to wipe down the entire surface. The tack cloth helps remove any residual dust or debris, providing a clean and smooth surface for the painting process.
II. Choosing the Right Painting Supplies
A. Selecting the Paint Type

How to paint a bicycle? When it comes to painting your bike, there are a few different types of paint to choose from, each with its own unique properties and application methods. The most common types of paint for bicycles are spray paint, powder coat, and traditional wet paint. Spray paint is the easiest to use and offers a wide range of colors and finishes, but it may not be as durable as other options. Powder coating is extremely durable and resistant to chipping and scratching, but it requires special equipment and is best left to professionals. Traditional wet paint can be applied with a brush or roller and offers a high level of customization, but it may require more time and effort to achieve a professional finish.
B. Necessary Equipment and Safety Gear
In addition to choosing the right type of paint, you’ll also need to gather the necessary equipment and safety gear to complete the job. This includes items such as a respirator mask, safety goggles, gloves, and a well-ventilated workspace. Depending on the type of paint you choose, you may also need spray guns, brushes, rollers, or other application tools. It’s important to invest in high-quality equipment and safety gear to ensure that your painting process goes smoothly and safely.
III. Step-by-Step Painting Process
A. Applying Primer
Once the surface of your bike is clean and prepped, the next step is to apply a primer. The primer is essential for promoting adhesion and providing a smooth base for the paint to adhere to. Choose a primer specifically designed for metal surfaces, and apply it in thin, even coats. Allow each coat to dry thoroughly before applying the next one, and lightly sand the surface with fine-grit sandpaper between coats to ensure a smooth finish.
B. Applying the Base Coat
After the primer has fully dried, it’s time to apply the base coat. The base coat is the primary color of your design and will serve as the foundation for any additional detailing. If you’re using spray paint, hold the can approximately 6-8 inches away from the surface and apply the paint using smooth, overlapping strokes. Be sure to apply multiple thin coats rather than one thick coat to prevent drips or sags. If you’re using traditional wet paint, use a brush or roller for an even application and allow each coat to dry before applying the next.
C. Adding Details and Designs

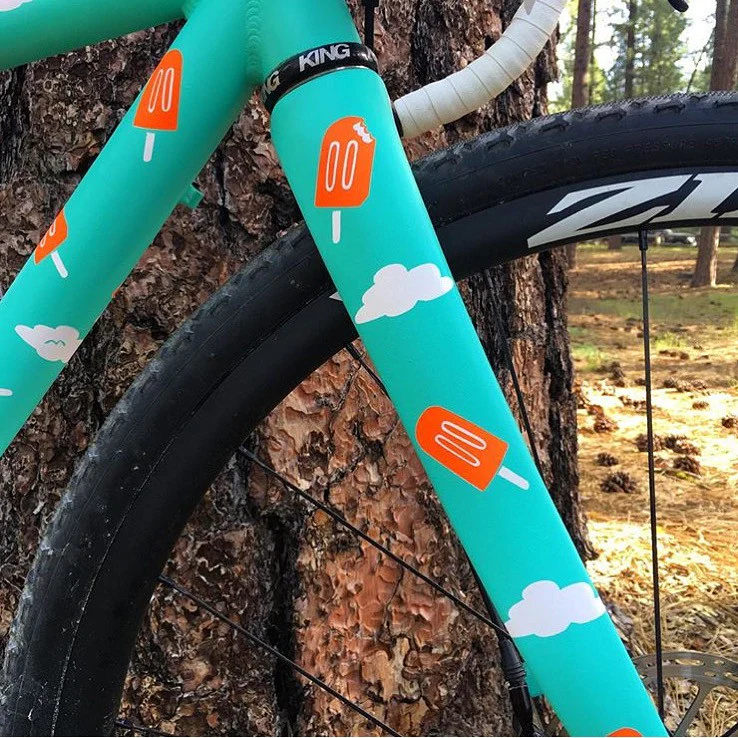
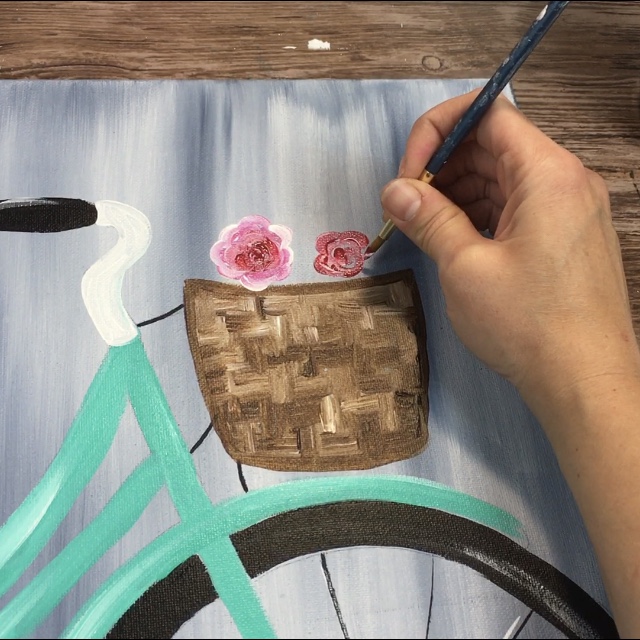
Once the base coat is dry, you can start adding details and designs to customize the look of your bike. This is where you can get creative and let your imagination run wild. Whether you’re adding pinstripes, patterns, or intricate designs, take your time and use precision to achieve the desired result. You can use paintbrushes, airbrushing techniques, or even stencils to create intricate designs and add a personal touch to your bike.
IV. Advanced Painting Techniques
A. Creating Custom Designs
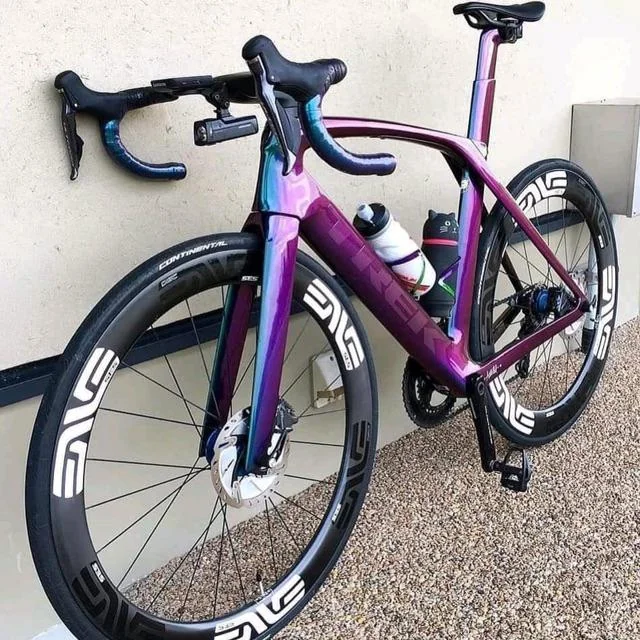
How to paint a bicycle? If you’re feeling adventurous and want to take your bike painting to the next level, consider creating custom designs that truly stand out. This could involve freehand painting, creating an ombre effect, or blending multiple colors for a unique and eye-catching finish. Custom designs allow you to showcase your personality and style, making your bike a true reflection of your individuality.
B. Employing Stencils and Masking for Patterns
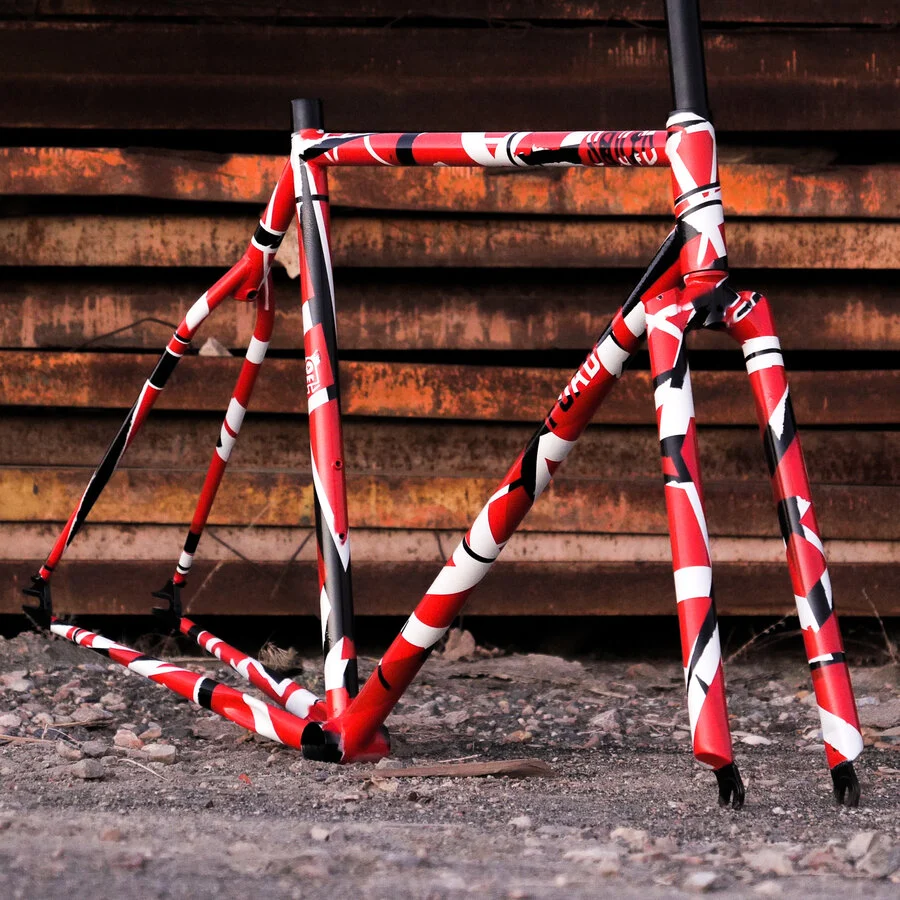
Using stencils and masking techniques is an excellent way to add intricate patterns and designs to your bike’s paint job. Stencils can help you achieve uniform shapes and patterns, while masking allows you to create clean lines and geometric designs. Experiment with different stencil shapes and sizes, or create your own custom stencils for a truly one-of-a-kind look. Just be sure to take your time and pay attention to detail to ensure a professional result.
V. Curing and Finishing
A. Drying and Curing the Paint
After you have completed the painting process, it is essential to allow the paint to properly dry and cure before using or handling your bike. While the paint may feel dry to the touch after a few hours, it is crucial to let it cure fully to ensure a durable and long-lasting finish. The curing time can vary depending on the type of paint used, environmental conditions, and the number of coats applied. Generally, it is recommended to allow the paint to cure for at least 24 to 48 hours before proceeding to the next step.
B. Applying Clear Coat for Protection
Once the base coat and any additional detailing have fully cured, it’s time to add a clear coat for an extra layer of protection. The clear coat serves to seal and protect the paint, providing durability and resistance to scratches, chips, and UV damage. Choose a clear coat specifically designed for use on bicycles or metal surfaces, and apply it in thin, even coats. Allow each coat to dry completely before applying the next, and consider applying multiple coats to ensure adequate protection.
In conclusion, preparing your bike for painting and choosing the right supplies are crucial steps in achieving a professional and durable finish. By following these guidelines and taking the time to properly clean, degrease, and prepare the surface, as well as selecting the appropriate paint type and equipment, you can transform your bike into a personalized work of art that will turn heads wherever you ride. Remember to always prioritize safety and take the necessary precautions when working with paint and chemicals. Happy painting!
