Introduction
A. Importance of a properly adjusted bike saddle
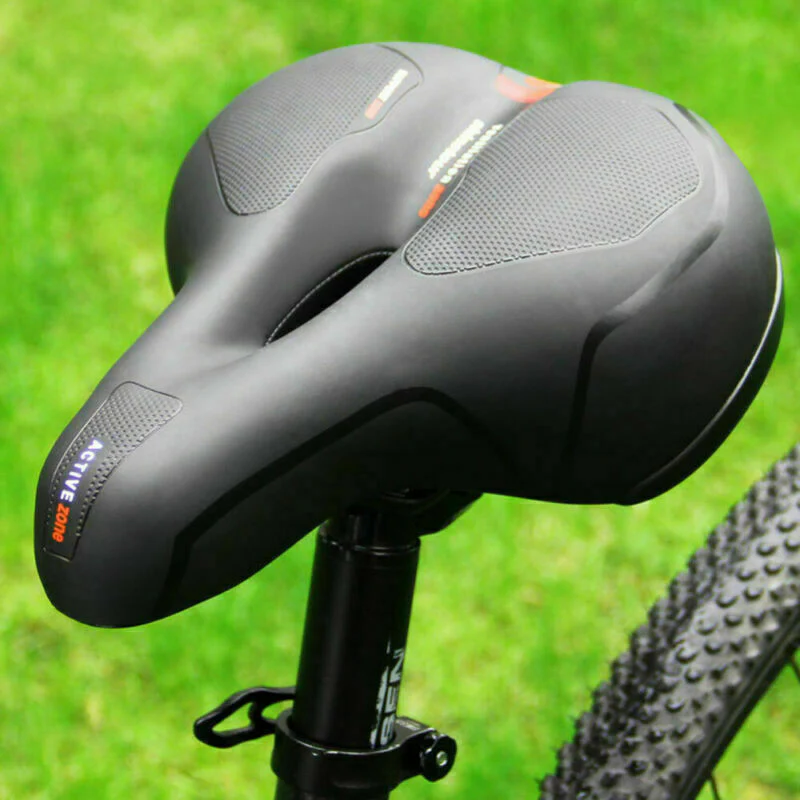
A bike saddle, also known as a bike seat, plays a crucial role in determining the comfort of a rider. A properly adjusted bike saddle is essential for preventing discomfort, pain, and even potential injuries that may result from prolonged cycling. It not only affects physical comfort but also influences the rider’s performance and overall cycling experience.
B. Overview of the key factors for a comfortable bike saddle
Several factors contribute to the comfort of a bike saddle. These include the saddle’s height, fore-aft position, tilt, and alignment. Each of these factors plays a crucial role in ensuring that the rider’s weight is distributed evenly, minimizing pressure points, and supporting a natural riding position. In this article, we will explore each of these factors in detail and provide practical tips for achieving a comfortable bike saddle setup.
Determining the Right Saddle Height
Finding the ideal saddle height is paramount for a comfortable and efficient ride. It prevents knee pain and other cycling injuries, and can greatly improve performance. A saddle too high or too low can lead to an inefficient pedal stroke and discomfort. Let’s dive into how to measure and adjust the saddle height effectively.
Measuring Saddle Height
Measuring saddle height is a critical first step in bike setup. Start by measuring your inseam – the distance from your crotch to the floor in cycling shoes. Locate the middle of the saddle and measure straight down to the center of the bottom bracket. This distance is your saddle height and serves as a reference when making adjustments. Document this starting number so you can always return to it if needed.
The Heel Method
A quick and common way to check saddle height without tools is the heel method. With the bike stationary, sit on the saddle and place your heel on the pedal. If your leg is completely straight with your heel on the pedal at its lowest position, this is a good initial saddle height. Remember, when your foot is in proper position with the ball over the pedal, your leg should have a slight bend.
Fine-Tuning with Camera Recording
To fine-tune your saddle height, a camera recording can be invaluable. Set up a camera to the side while you pedal on a stationary trainer. As you pedal, your leg should still have a slight bend in it at the bottom of the pedal stroke, ideally at an angle of about 30 degrees. Adjust your saddle up or down in small increments until this angle is achieved.
Using Formulas for Saddle Height
Additionally, there are formulas such as the LeMond Method and the Hamley Method that can also be used to establish the saddle height based on your inseam. The LeMond Method involves multiplying your inseam by 0.883, while the Hamley Method uses a factor of 1.09 and accounts for crank length. Each method provides a different calculation to help you establish a baseline for the ideal saddle height.
Setting the Saddle Fore/Aft Position
Proper saddle positioning doesn’t end with height. The fore/aft (forward and backward) placement of your saddle is a pivotal adjustment for ensuring an optimal riding position. It affects your reach to the pedals, and consequently, your comfort and power output. In the world of cycling, precision is key, and even a few millimeters of adjustment can make a significant difference in handling and reducing stress on the knees.
Importance of Correct Saddle Setback
The correct saddle setback helps place your body in a position that maximizes pedaling efficiency and balance. It aligns your knee over the pedal spindle when your crank is in the 3 o’clock position—a commonly used reference point known as Knee Over Pedal Spindle (KOPS). Ensuring correct saddle setback can help prevent injuries and long-term strain, particularly on the knees and lower back. It’s a sweet spot that equally distributes your weight and allows for efficient power transfer throughout each pedal stroke.
Measuring and Adjusting Saddle Setback
To measure your saddle setback, position your bike on a level surface or a bike trainer. With the crank arms parallel to the ground, hang a plumb line or use a laser from the bony protrusion just below your kneecap. The line should intersect the spindle of the pedal. If the line falls in front or behind, adjust your saddle accordingly.
Adjusting can be carried out by loosening the saddle clamp and sliding the saddle forward or backward before retightening. It is important to make small incremental changes, typically no more than a few millimeters at a time, and to test ride after each adjustment. Once you have found a comfortable setback position, it’s equally critical to re-check saddle height as changing one can affect the other.
Adjusting your saddle may take a bit of trial and error, but patience pays off in the pursuit of a more comfortable and efficient ride. There’s no one-size-fits-all solution as individuals’ bodies and riding styles vary, so what feels perfect to one rider might not suit another. And always remember, small changes can have a big impact on performance and comfort.
Saddle Tilt and Comfort
Proper saddle tilt is a subtle but essential aspect of achieving the ultimate riding comfort and efficiency. It is crucial in preventing soreness, numbness, and ensuring that your weight is distributed properly across the bike. Understanding how to assess and adjust saddle tilt, as well as its impact on your ride, will lead to a more enjoyable cycling experience.
Assessing and Adjusting Saddle Tilt
To determine the ideal saddle tilt, start by ensuring the bike is on a level surface. You can use a spirit level or an inclinometer app on your smartphone to check that the saddle is horizontal to the ground. The goal is to have the saddle support your sit bones accurately without causing discomfort to your soft tissue areas.
Initially, set your saddle to a flat position. Ride for a short period and pay attention to how your body feels. Are you sliding forward or backwards? Is there any undue pressure on your hands or forearms? After this preliminary evaluation, make slight adjustments to the angle:
- If you feel pressure at the front, try tilting the front of the saddle slightly downwards.
- Conversely, if you’re sliding forward or experiencing too much weight on the handlebars, a slight upward tilt at the front of the saddle may be beneficial.
Remember to make these adjustments in minute increments as even small changes can have a significant impact on comfort.
The Impact of Saddle Tilt on Riding Comfort
The angle of your saddle affects not only the comfort of your ride but also your ability to generate power and maintain proper posture. An incorrect saddle tilt can lead to compensatory movements, putting stress on your spine, hips, and knees, potentially causing long-term injuries.
When the saddle is correctly tilted, it:
- Supports your pelvic area adequately, allowing for a solid base to pedal from.
- Reduces pressure on the hands and wrists, as well as on sensitive soft tissues.
- Encourages a natural spinal alignment, which helps to breathe more efficiently and reduces muscular fatigue.
Adjusting the saddle tilt should always be done in coordination with changes to saddle height and fore/aft positioning, as all these factors are interrelated. Once you have dialed in the correct saddle tilt, take some rides of varying intensity and duration to assess the changes, noting any feeling of discomfort or imbalance. Often, finding the sweet spot is a process of fine-tuning over time, using your physical feedback as the guide.
Additional Tips for Comfortable Riding
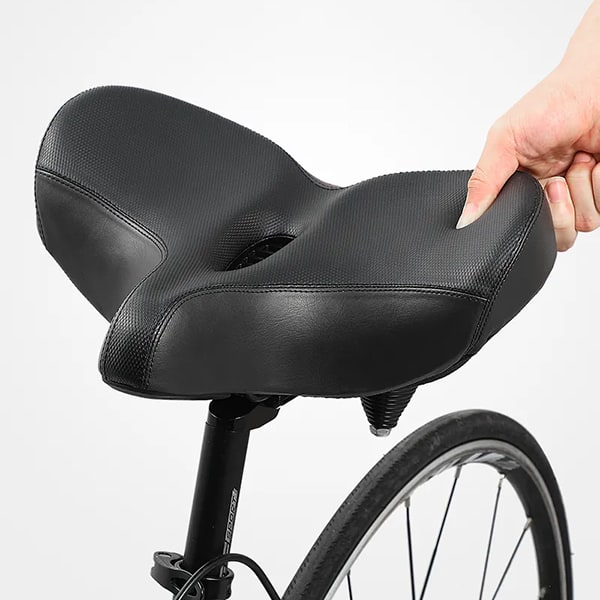
- Adding padding or using a gel saddle cover for extra cushioning
One of the most common complaints among cyclists is saddle discomfort. Luckily, there are several ways to address this issue. Some cyclists opt to add extra padding to their saddle, either by using padded cycling shorts or by attaching a gel saddle cover. These options can provide additional cushioning and help alleviate pressure points, making for a more comfortable ride.
- Seeking professional guidance for complex saddle adjustments
While adding extra padding can help, sometimes the discomfort experienced while cycling may be due to improper saddle alignment. In these cases, seeking professional guidance for complex saddle adjustments can be incredibly helpful. A bike fitter can assess your riding position, saddle height, and saddle tilt to ensure that everything is properly aligned. This can make a world of difference in terms of comfort and performance while riding.
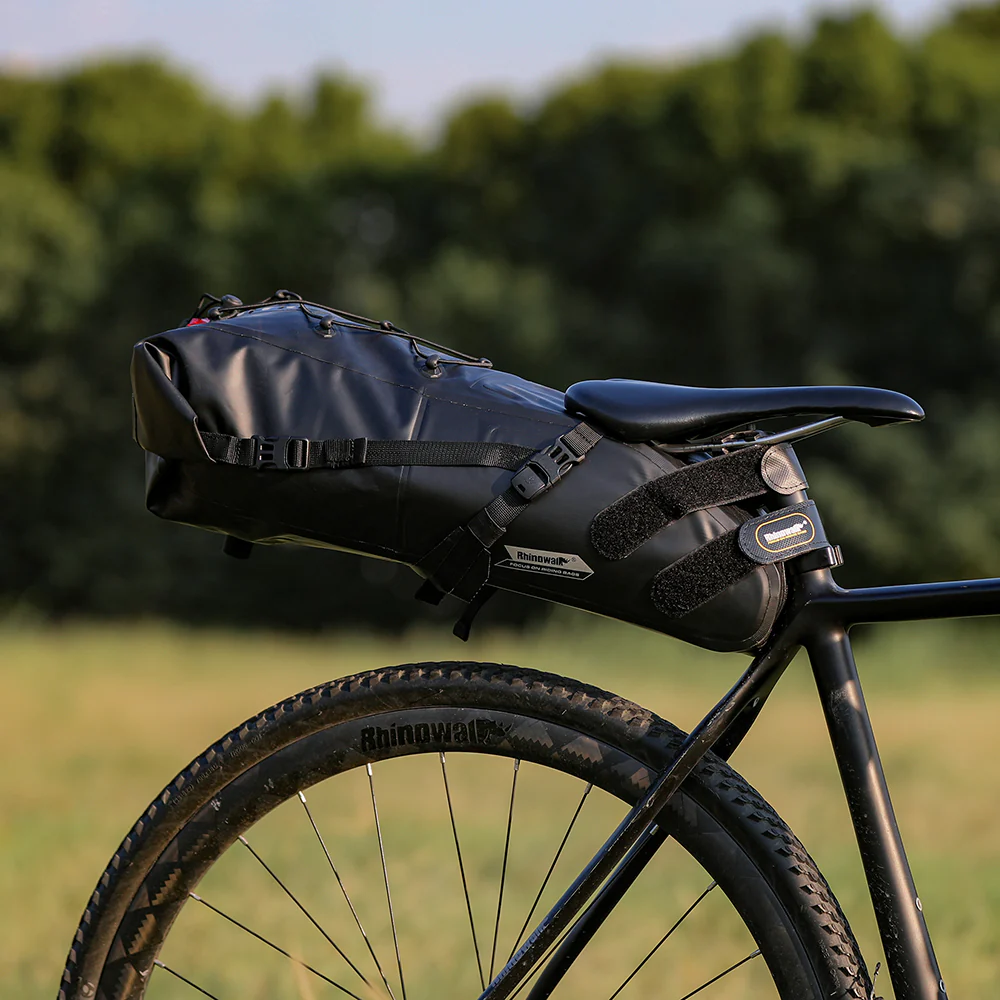
- Considering the potential impact of bike accessories on saddle comfort
It’s also important to consider how other bike accessories may impact saddle comfort. For instance, a poorly positioned handlebar or pedals can cause unnecessary strain on your lower back and pelvic area, leading to discomfort during rides. Making sure that your bike is properly adjusted and fitted to your body can go a long way in preventing saddle-related discomfort.
By thoughtfully considering each aspect of saddle adjustment—height, fore/aft positioning, and tilt—cyclists can achieve a balanced and comfortable ride. This tailored setup helps in avoiding common pains and injuries associated with cycling, ensuring that time on the bike is both performance-oriented and pleasurable.