I. Introduction
A. Importance of Bicycle Inner Tubes Bicycle inner tubes play a crucial role in maintaining the performance and functionality of a bicycle. They provide the necessary air pressure to support the weight of the rider and the bike, ensuring a smooth and efficient ride. Without properly inflated inner tubes, it becomes difficult to control the bike, increases the risk of punctures, and can lead to uncomfortable and inefficient cycling experiences.
B. Purpose of the Article The purpose of this article is to provide a comprehensive guide to bicycle inner tubes. It aims to educate readers about the different types of inner tubes available, the factors to consider when choosing the right tube, and tips for proper tube selection. By understanding the importance and components of inner tubes, cyclists can make informed decisions to ensure a safer and more enjoyable riding experience.
II. Understanding Bicycle Inner Tubes
A. What Are Bicycle Inner Tubes?
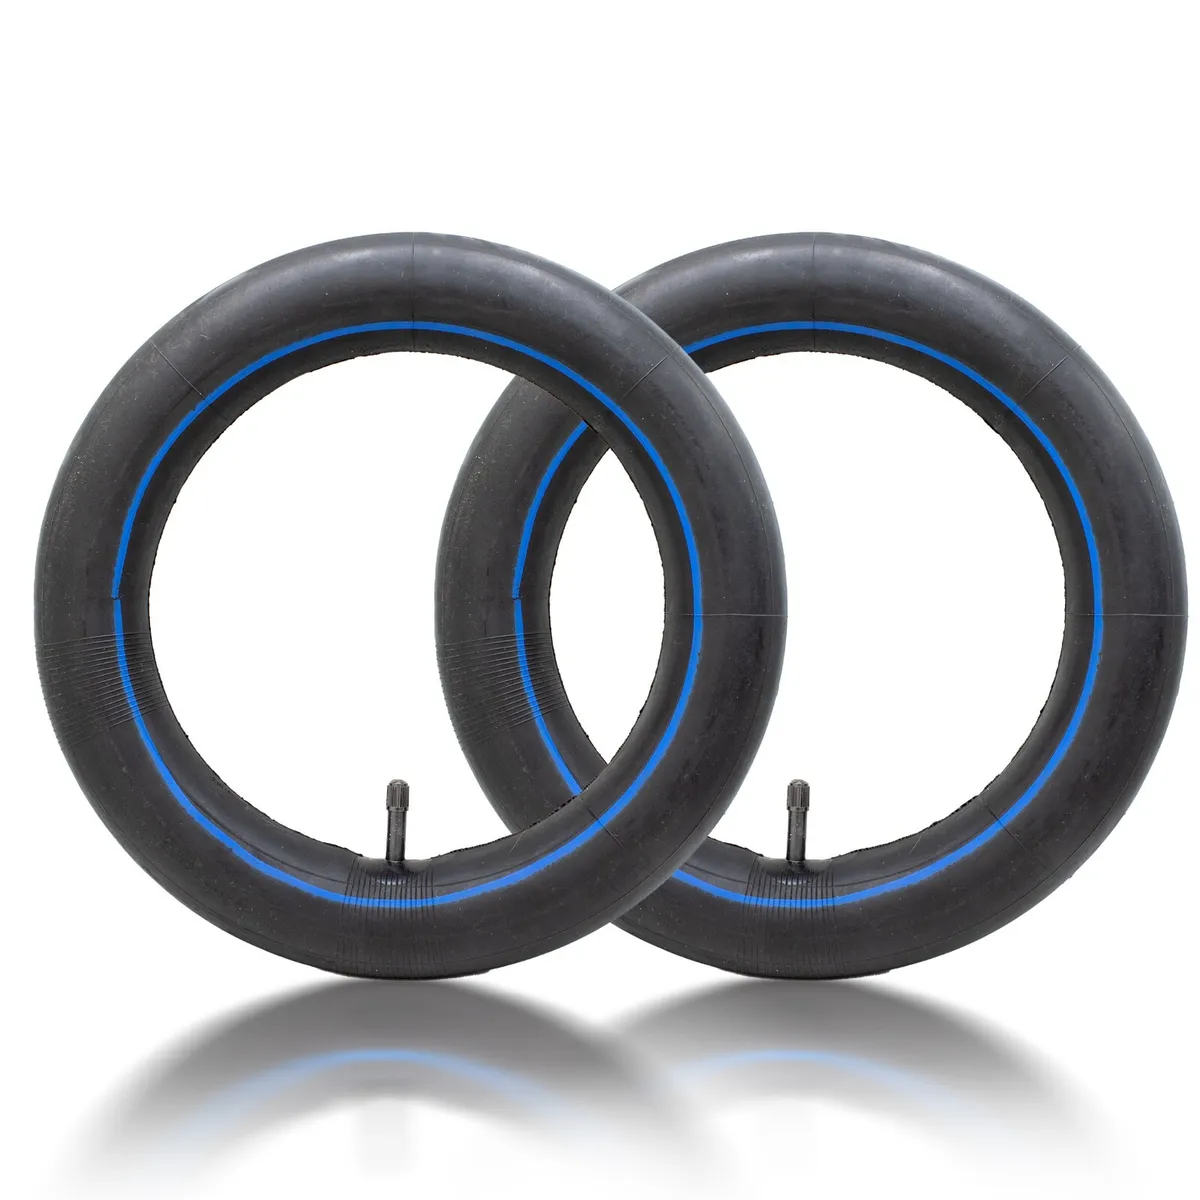
Bicycle inner tubes are inflatable rubber tubes that fit inside bicycle tires. They are responsible for holding the air pressure that supports the weight of the rider and bike, providing cushioning, and maintaining tire shape and stability.
B. Different Types of Bicycle Inner Tubes
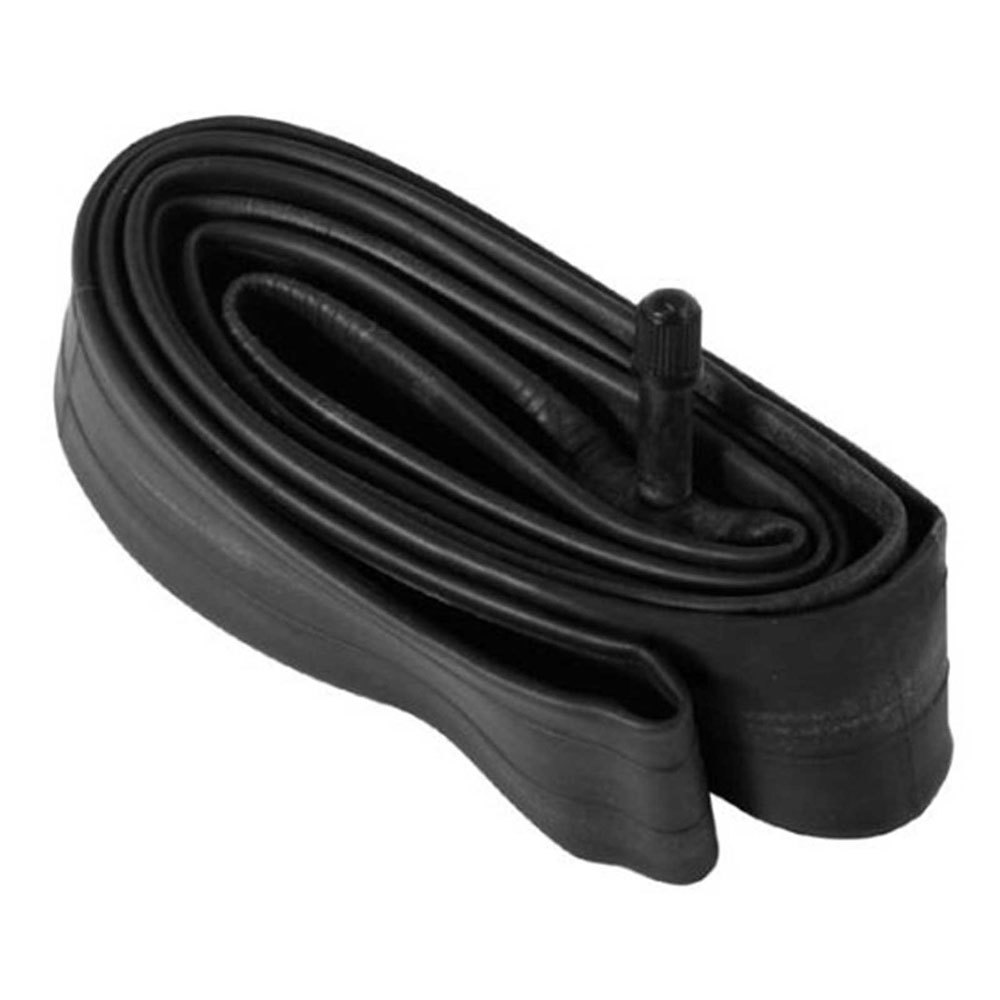
- Standard Tubes Standard tubes are the most common type and are compatible with a wide range of bicycle tires. They come in various sizes to fit different tire widths and diameters.
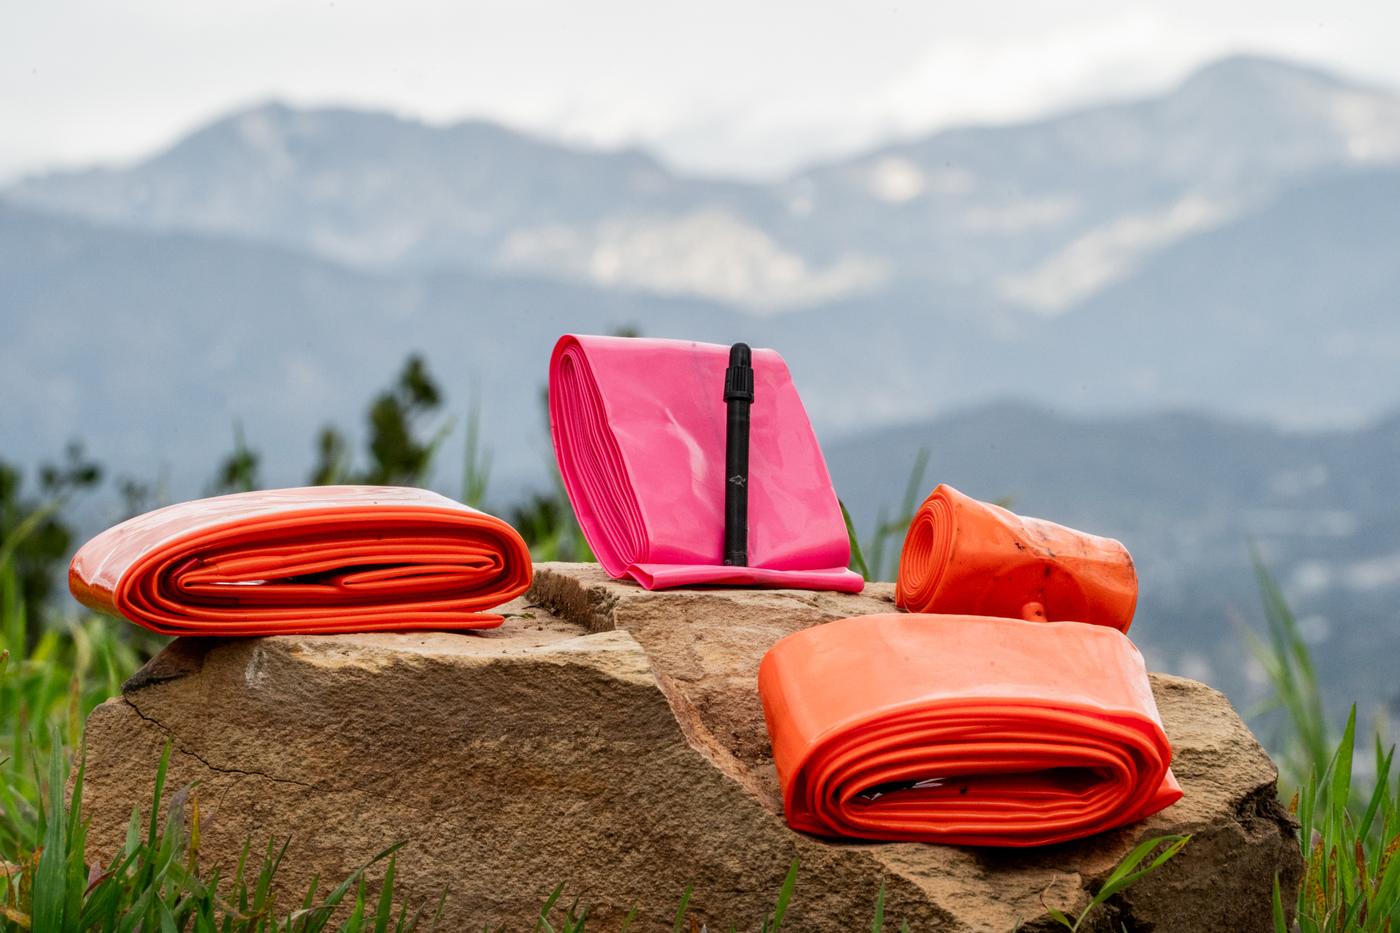
- Presta Valve Tubes Presta valve tubes are commonly found on road bikes and higher-end bicycles. They feature a slender, lightweight valve that requires a special pump attachment for inflation. Presta valves are known for their ability to hold higher air pressures and their reliability.
- Schrader Valve Tubes Schrader valve tubes, similar to those found on car tires, are widely used in mountain bikes and hybrid bikes. They are easy to inflate using a standard bicycle pump and are known for their durability and resistance to damage.
- Tubeless Systems Tubeless systems eliminate the need for inner tubes altogether. Instead, the tire and rim create an airtight seal to hold the air pressure. Tubeless systems offer benefits such as improved puncture resistance, lower rolling resistance, and the ability to run lower tire pressures for enhanced traction.
III. Choosing the Right Bicycle Inner Tube
A. Factors to Consider
- Tire Size Compatibility It is essential to choose an inner tube that matches the size and width of your bicycle tire. This information is usually imprinted on the sidewall of the tire or can be found in the bicycle’s user manual.
- Valve Type Selecting the correct valve type is important to ensure compatibility with your bike’s rim and pump. Consider whether your bike requires a Presta valve or Schrader valve tube.
- Tube Thickness/Weight Tube thickness affects the durability and weight of the inner tube. Thicker tubes offer increased puncture resistance but may add weight to the bike. Consider the balance between durability and weight based on your riding preferences.
B. Tips for Proper Tube Selection
- Consult with a bike shop professional or refer to manufacturer specifications for guidance on tube selection.
- Consider the type of terrain you frequently ride on and any specific needs, such as puncture resistance or lightweight performance.
- Carry a spare inner tube when cycling to ensure you are prepared for any unexpected punctures or tube failures.
Stay tuned for the continuation of this article in Part II, where we will discuss maintenance and care practices for bicycle inner tubes.
IV. Maintenance and Care
A. Inspecting and Patching Inner Tubes
- Identifying Damage and Wear a. Checking for visible punctures or cuts b. Examining the condition of the valve stem c. Detecting signs of wear and tear, such as thinning rubber or bulges
- Patching Small Punctures and Leaks a. Gathering the necessary tools and materials (patch kit, sandpaper, adhesive) b. Locating the puncture by inflating the tube and listening for hissing sounds or submerging it in water c. Preparing the tube surface by lightly sanding the area around the puncture d. Applying the patch according to the instructions provided with the patch kit e. Pressing firmly to ensure proper adhesion and allowing sufficient drying time before reinserting the tube
B. Proper Inflation and Pressure
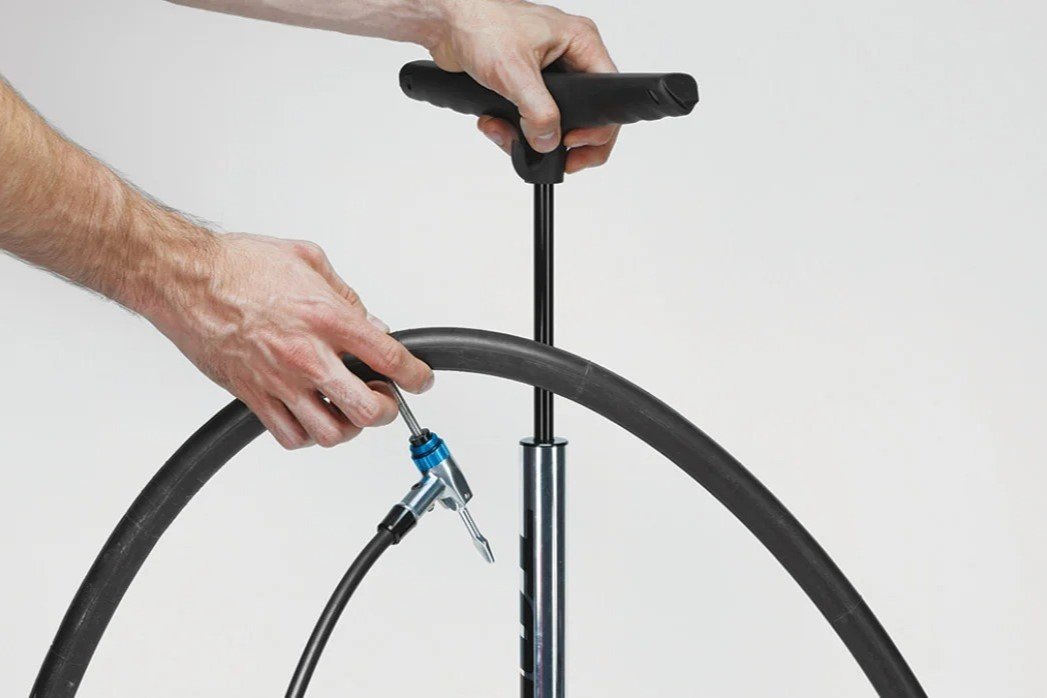
- Guidelines for Correct PSI a. Determining the recommended PSI range for your specific tire and tube b. Using a reliable pressure gauge to measure and adjust the pressure c. Considering factors such as rider weight, terrain, and weather conditions that may impact optimal tire pressure d. Avoiding underinflation or overinflation for better performance and safety
- Benefits of Proper Inflation a. Improved rolling resistance and energy efficiency b. Enhanced grip and traction c. Increased puncture resistance and durability d. Enhanced comfort and cushioning e. Minimized risk of pinch flats
V. Common Inner Tube Issues and Troubleshooting
A. Flat Tires
- Causes and Prevention a. Punctures from sharp objects such as glass, thorns, or nails b. Pinch flats caused by impact with sharp edges or inadequate tire pressure c. Rim tape issues leading to tube damage d. Valve issues causing leaks
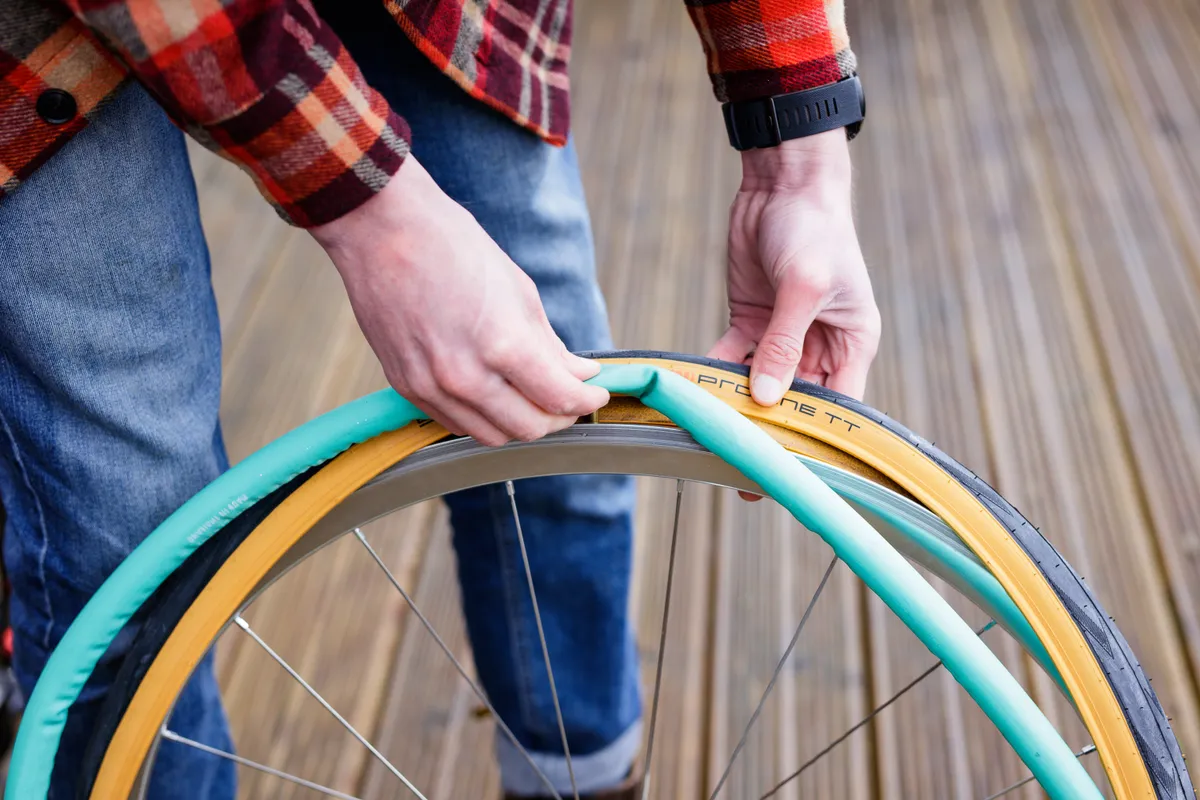
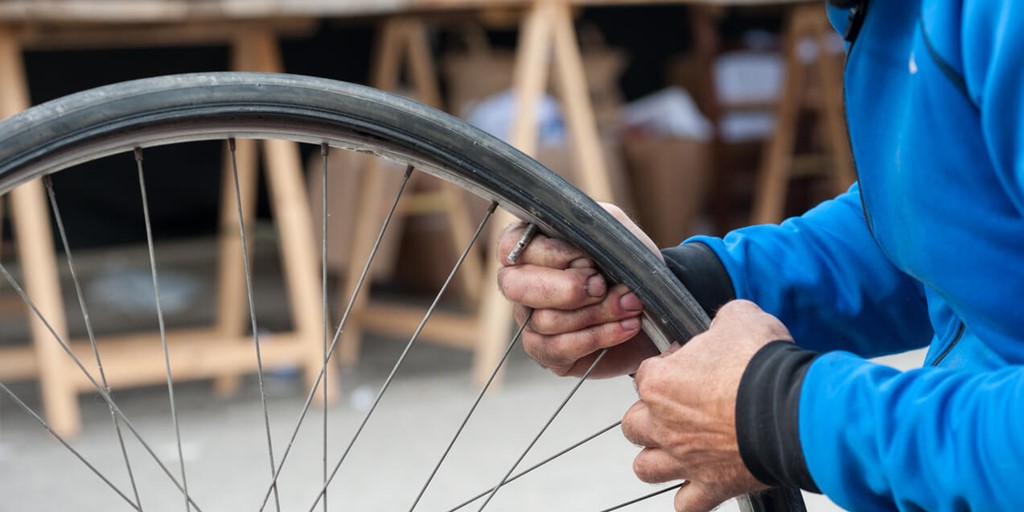
- Steps to Fix a Flat a. Locating and removing the impacted object (if still present) b. Deflating and removing the tube from the tire c. Inspecting the tire for remaining debris or potential causes of repeated flats d. Repairing or replacing the tube as necessary e. Reinstalling the tube, ensuring proper alignment and avoiding pinching f. Inflating the tube to the recommended PSI and testing for air leaks
B. Valve Issues
- Leaky Valves a. Identifying signs of a leaky valve (hissing sounds, visible air loss) b. Cleaning and inspecting the valve for debris or damage c. Replacing faulty valve cores or valve stems as necessary
- Valve Replacement a. Selecting the appropriate valve type for your rim and tube b. Gaining access to the valve by deflating and removing the tube c. Removing the old valve and installing the new one d. Ensuring a secure fit and proper alignment
VI. Conclusion
In conclusion, maintaining and caring for your bicycle inner tubes is crucial for a smooth and uninterrupted ride. Regularly inspecting and patching small punctures, as well as properly inflating the tubes, helps extend their lifespan and ensure optimal performance. Familiarizing yourself with common inner tube issues like flat tires and valve leaks allows you to troubleshoot and address problems promptly. By following these maintenance and troubleshooting techniques, you can enjoy a safer, more enjoyable cycling experience while prolonging the life of your bicycle inner tubes.