
I. Introduction to Charging an Electric Scooter
A. Importance of Properly Charging Your Electric Scooter
Properly charging your electric scooter is crucial for maintaining its battery life and ensuring optimal performance. Regular charging helps keep the scooter ready for use and prevents unexpected battery depletion during rides. Following the correct charging process also helps ensure safety and prolongs the lifespan of the battery.
B. Understanding the Charging Process and Safety Considerations
Understanding how to charge your electric scooter correctly is essential for safety and efficiency. It involves checking the battery level, using a compatible charger, connecting the charger to the scooter and power source, monitoring the charging process, and properly disconnecting and storing the charger. Following safety guidelines such as using the correct voltage and amperage and avoiding overcharging will prevent damage to the battery and ensure safe charging.
C. Exploring Different Types of Charging Methods for Electric Scooters
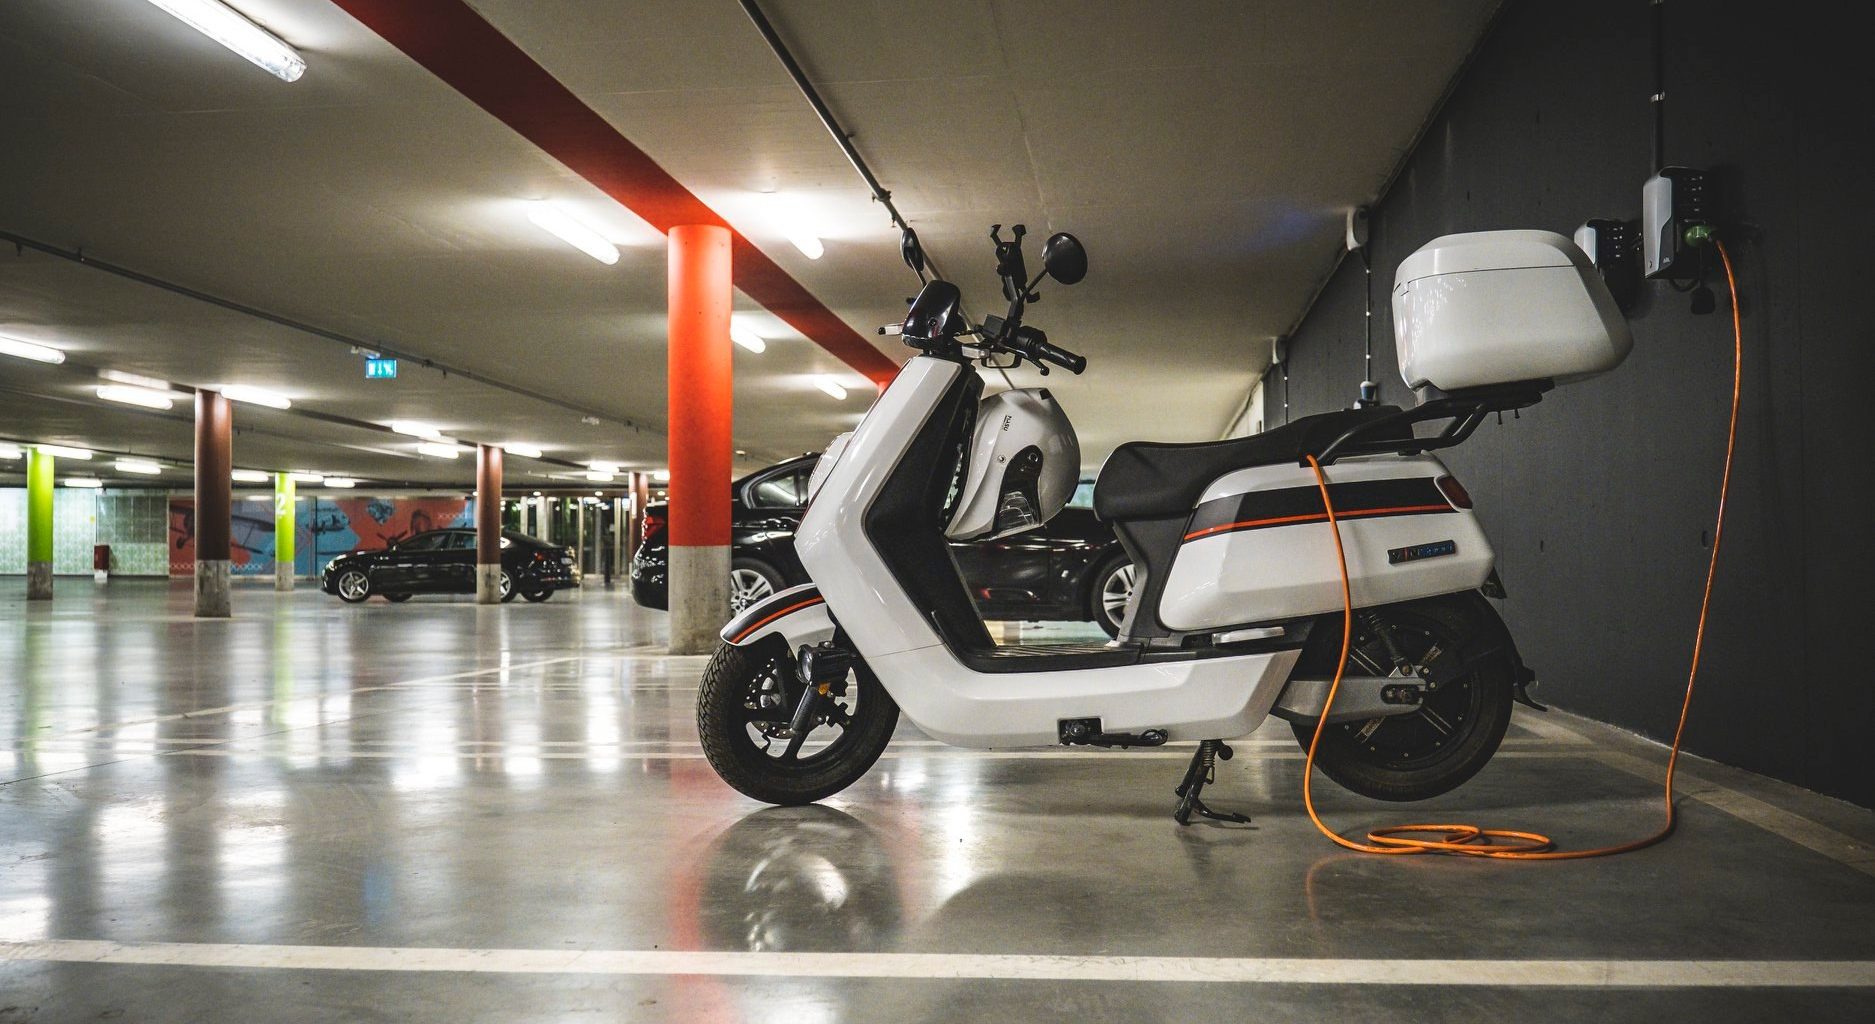
Electric scooters can be charged using various methods, including plug-in charging, removable battery charging, or portable charging solutions. The specific charging method will depend on the scooter model and manufacturer’s recommendations. Understanding the available options will help you choose the most convenient and suitable charging method for your electric scooter.
II. Checking the Battery Level and Charger Compatibility
A. Assessing the Battery Level Before Charging

- Understanding the Battery Indicator or Display
Most electric scooters have a battery indicator or display that shows the current charge level of the battery. Understanding how to interpret the battery indicator will help determine when the battery needs to be charged.
- Identifying the Need for Charging Based on Battery Level
Based on the battery level indicated, you can determine if your electric scooter needs to be charged. It is recommended to charge the scooter when the battery level is low to ensure sufficient power for your next ride.
B. Verifying Charger Compatibility
- Checking the Charger’s Voltage and Plug Type
Before charging, ensure that the charger’s voltage and plug type match the requirements of your electric scooter. Using an incompatible charger may result in damage to the battery or other components of the scooter.
- Ensuring the Charger Matches the Electric Scooter’s Specifications
Check the manufacturer’s specifications to ensure the charger is compatible with your electric scooter. Using the correct charger recommended by the manufacturer will ensure safe and efficient charging.
III. Connecting the Charger to the Electric Scooter

A. Locating the Charging Port on the Electric Scooter
- Identifying the Position and Type of Charging Port
Locate the charging port on your electric scooter. It is usually located on the frame or under a protective cover. The charging port may vary in design depending on the scooter model.
- Ensuring Accessibility and Proper Alignment
Ensure that the charging port is easily accessible and free from obstructions. Align the charger’s plug with the charging port and make sure it fits securely.
B. Plugging in the Charger
- Inserting the Charger’s Plug into the Charging Port
Insert the charger’s plug into the charging port of your electric scooter. Ensure a secure connection by pushing the plug in firmly until it is fully inserted.
- Securing the Connection to Prevent Disconnection
Once the charger’s plug is inserted, secure the connection by gently tugging on the charger’s cable to ensure it is firmly attached to the charging port. This will help prevent accidental disconnection during the charging process.
IV. Connecting the Charger to a Power Source
A. Identifying an Appropriate Power Source
- Locating a Standard Electrical Outlet
Find a standard electrical outlet within a suitable distance from the electric scooter. Ensure that the outlet is in good working condition and can provide a stable power supply.
- Checking the Voltage and Amperage of the Power Source
Verify that the voltage and amperage of the power source match the requirements stated on the charger. Using a power source with different specifications may result in damage to the charger or battery.
B. Plugging in the Charger to the Power Source
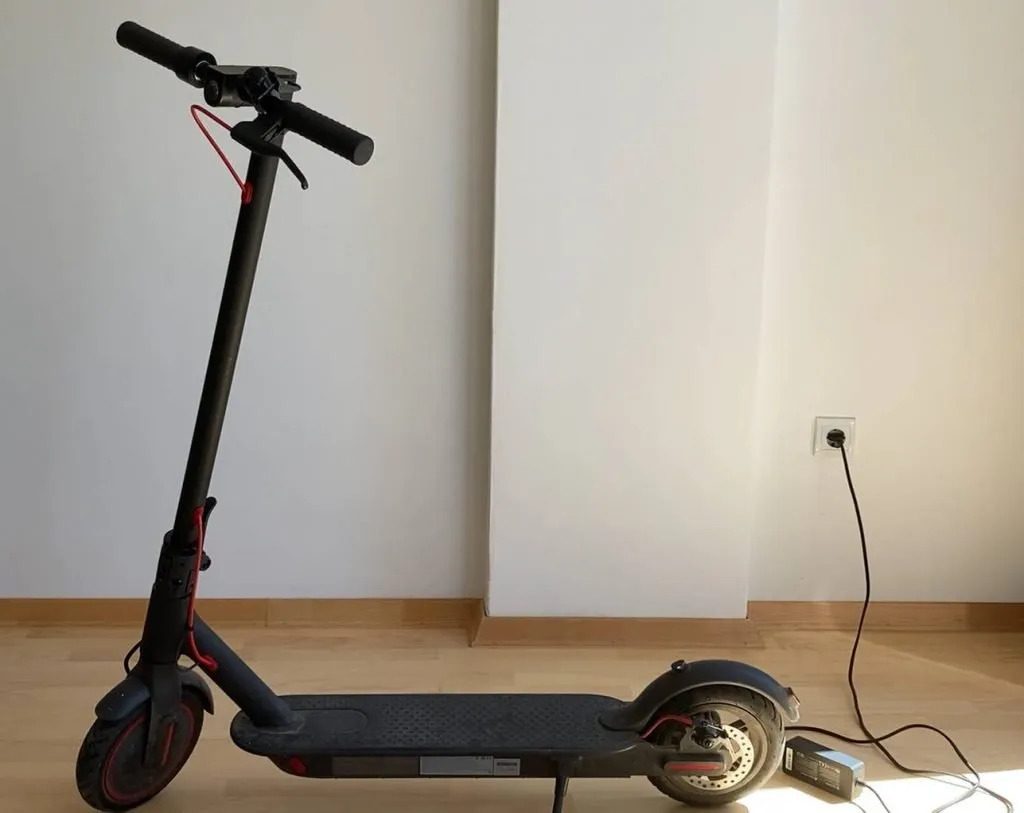
- Inserting the Charger’s Plug into the Power Outlet
Insert the charger’s plug into the power outlet. Make sure it is fully inserted and seated securely to ensure a reliable power supply. If necessary, use an appropriate adapter or extension cord to reach the power source.
- Verifying a Stable Connection and Power Supply
Check that the power indicator on the charger is lit or that the charging process has started. Ensure a stable connection without any loose connections or power interruptions.
V. Monitoring the Charging Process

A. Observing the Charging Indicator or Display
- Noticing the Charging Indicator Light or Display
Most electric scooters have a charging indicator light or display on the scooter or charger. This indicator will show the progress of the charging process.
- Understanding the Different Charging Stages, if applicable
Some electric scooters have different charging stages indicated by the charging indicator. These stages may represent different levels of charge, such as low, medium, and full charge. Understanding these stages will help you monitor the progress of the charging process.
B. Allowing Sufficient Charging Time
- Following the Manufacturer’s Recommended Charging Time
Refer to the manufacturer’s recommendations for the recommended charging time. It is important to follow these guidelines to ensure the battery is charged to its fullest capacity. Avoid interrupting the charging process prematurely.
- Avoiding Overcharging and Undercharging the Battery
Avoid leaving the electric scooter charging for an extended period beyond the recommended charging time, as overcharging can shorten the battery’s lifespan. Similarly, do not interrupt the charging process prematurely, as undercharging may limit the scooter’s range and performance.
VI. Disconnecting and Storing the Charger
A. Safely Disconnecting the Charger
- Unplugging the Charger from the Power Source
Before disconnecting the charger, unplug it from the power source by gently pulling the charger’s plug out of the outlet. Avoid pulling on the cord to prevent damage to the charger or power outlet.
- Removing the Charger’s Plug from the Charging Port
After disconnecting the charger from the power source, remove the charger’s plug from the charging port by gently pulling it out. Ensure a steady grip on the plug to avoid any potential damage or accidental disconnection.
B. Properly Storing the Charger
- Coiling and Organizing the Charger’s Cable
To prevent tangling and damage to the charger’s cable, neatly coil it and secure it with Velcro straps or similar cable management solutions. This will help keep the cable organized and prevent any tripping hazards.
- Storing the Charger in a Safe and Dry Location
Store the charger in a safe and dry location away from excessive heat, moisture, or direct sunlight. This will help prolong the life of the charger and ensure it is readily accessible for future charging needs.
Properly charging an electric scooter is essential for optimal performance and battery life. By following the step-by-step guide for charging, which includes checking the battery level and charger compatibility, connecting the charger to the electric scooter and power source, monitoring the charging process, and safely disconnecting and storing the charger, you can ensure a reliable and efficient charging experience. Remember to adhere to safety precautions and manufacturer’s guidelines to maintain the longevity of your electric scooter’s battery.